BLOG
Press "pause" on nature by capturing beautiful blooms to enjoy for years to come.
“Where flowers bloom so does hope.”
— Lady Bird Johnson
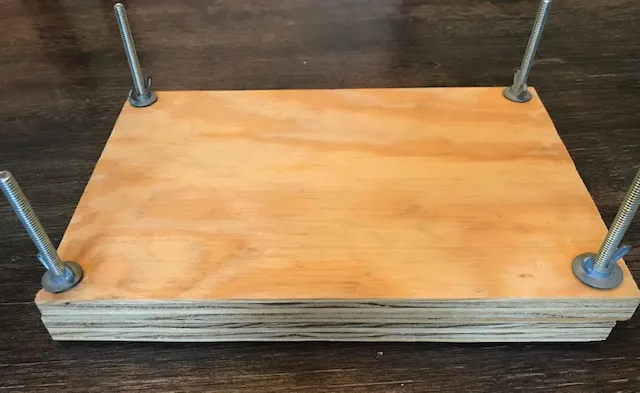
Build your own flower press with two pieces of wood, 4 screws, and 4 wingnuts.
MR
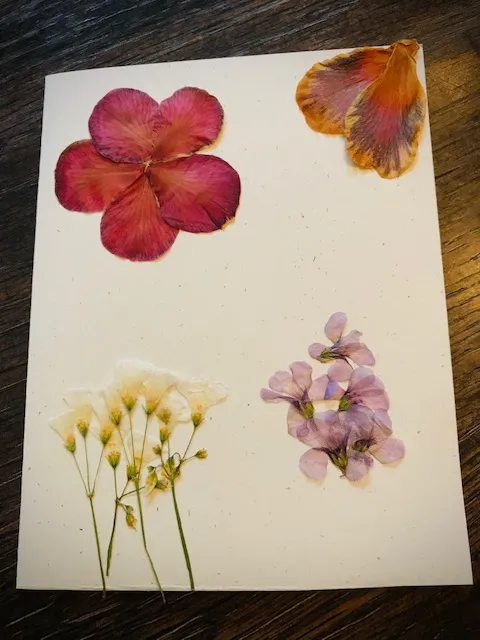
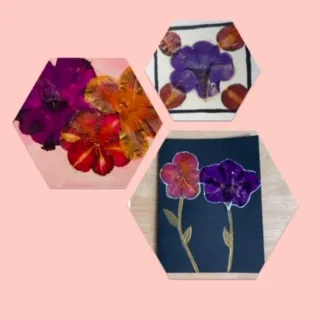
Pressed camilla petals and clover flowers
MR
Mother's Day cards
MR

Making and Using a Flower Press
Published in 1999
Since 1973, Storey's Country Wisdom Bulletins have offered practical, hands-on instructions designed to help readers master dozens of country living skills quickly and easily. There are now more than 170 titles in this series, and their remarkable popularity reflects the common desire of country and city dwellers alike to cultivate personal independence in everyday life.

Complete Photo Guide to Cardmaking
Published in 2016
Handmade cards are gifts, creative expressions, keepsakes, and relationship builders. Beneath the cardstock and embellishments is deep emotion from the card maker--encouragement, celebration, commemoration, and love. Unlike many store-bought cards that are thrown away, handmade cards are cherished and displayed. They spark connections, express feelings, evoke laughter, and warm the hearts of friends, relatives, and coworkers. There's joy in the process of creating, as well as in giving and receiving handmade cards. The Complete Photo Guide to Cardmaking is the ultimate resource on card making. All paper-crafting techniques that can be employed for card making are thoroughly covered, including a comprehensive description of paper types available, folding options and techniques, coloring and image transfer methods, and adding embellishments. Inside, you'll also find methods for using a computer to design and print cards. More than 80 projects give you lots of ideas and inspiration to create cards of your own, using the techniques you've learned. Unique envelope templates and a helpful source list are included. Expert paper crafter Judi Watanabe provides you with a one-stop reference for making cards for any occasion. This book includes step-by-step photographed instructions for a wide range of techniques, as well as projects to accompany each area of card making. Full of gorgeous cards, The Complete Photo Guide to Cardmaking explores a wide range of techniques and end products, making it a valuable reference for any crafter. So when the mood strikes, use the artistry you've learned to create personalized greetings for everyone you know!