I am sure we've all worn a hole in a pair of pants or caught a shirt sleeve on a nail. Or bought an item of clothing that doesn't get worn anymore because it's not fun.
Read and watch to find out how to extend your wardrobe by making your clothes exciting and new again. Even better, you'll save money by not having to replace these items!
Visible mending is the idea that you can turn your torn, worn, plain clothes into works of art. Don't hide your patches - celebrate them! Using fun fabrics and colorful thread, as well as a few simple-to-learn techniques, will make your clothing uniquely yours and show off your personal style.
EXAMPLE
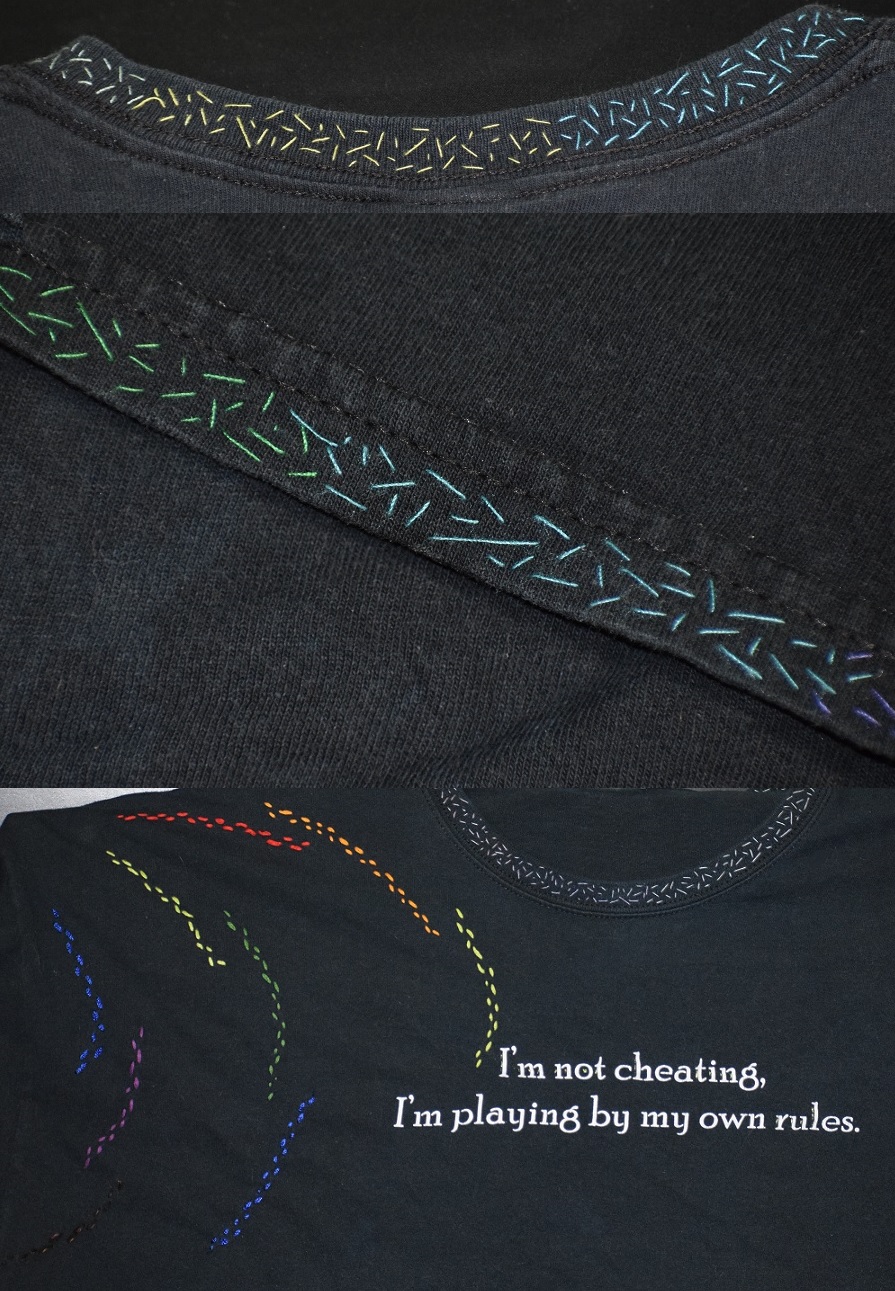
Here is an example of a very old t-shirt of mine that I embellished to breathe new life into it. I used a variation of a running stitch - called seed stitching - to make the collar and sleeve hems colorful and interesting. Seed stitching is just placing stitches of random length and direction over an area.
I also added a rainbow to the shoulder using running stitches. Keep reading to find my video explaining exactly how to create running stitches! I took things one step farther by adding some green metallic stitches to some of the lettering on the t-shirt.
SUPPLIES
You will need:
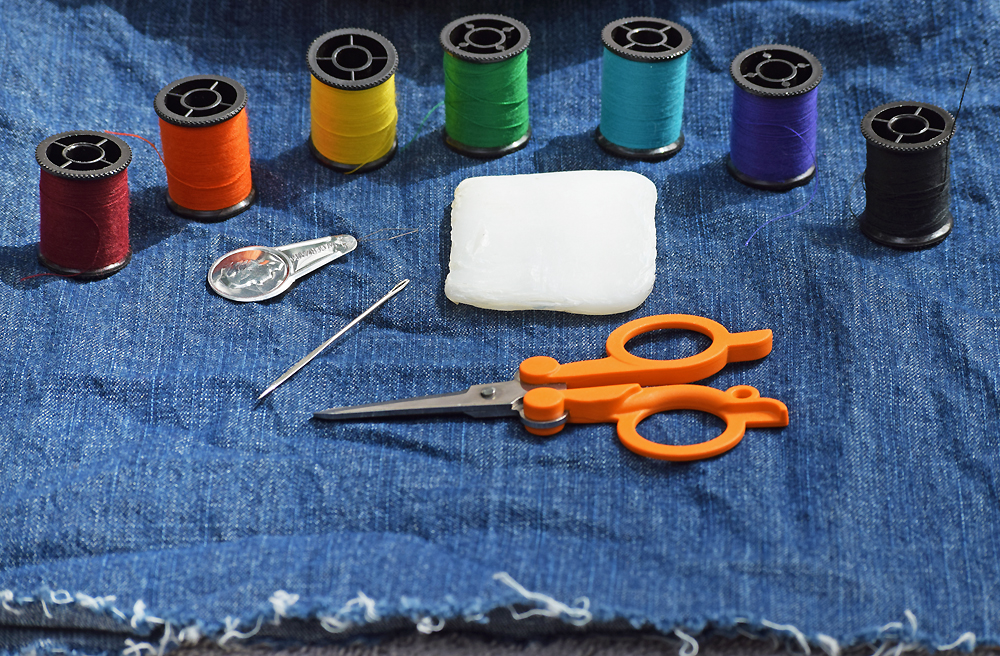
- Thread - you can use sewing thread that you can find on spools (as in the picture) or embroidery floss
- Scissors
- Needle - for beginners, it may be easier to use a needle with a larger eye
- Needle threader - makes threading your needle much easier
- Soap - plain white soap; you can use a leftover piece; you want to use plain soap so it doesn't stain your fabric
- Fabric - you'll need some scrap fabric to practice on before you start on your clothing; if you don't have any scrap fabric, you can practice on your bed sheets (teens and kids: get permission from your parents first!)
All of these items, except for the scrap of soap and fabric, can be purchased at any grocery store in the form of a sewing kit, which can often can be found on the health and beauty aisle. You might even have one in the back of a junk drawer!
When choosing which pieces of clothing to work on, you may want to start with a regular cotton or cotton blend t-shirt. Jeans are another good choice, though the fabric will be thicker and it will take more effort to pass the needle through it. Save your fancy silk or chiffon shirts for after you've gotten comfortable handling a needle and thread. Delicate fabrics are much harder to work with and it's much easier to accidentally damage them.

HOW TO PATCH A HOLE
So, what do you do if you've got a hole in your clothes? Usually, you'd buy an iron-on patch in a similar color and try to hide the hole. Instead of hiding that hole, why not make it a feature?!
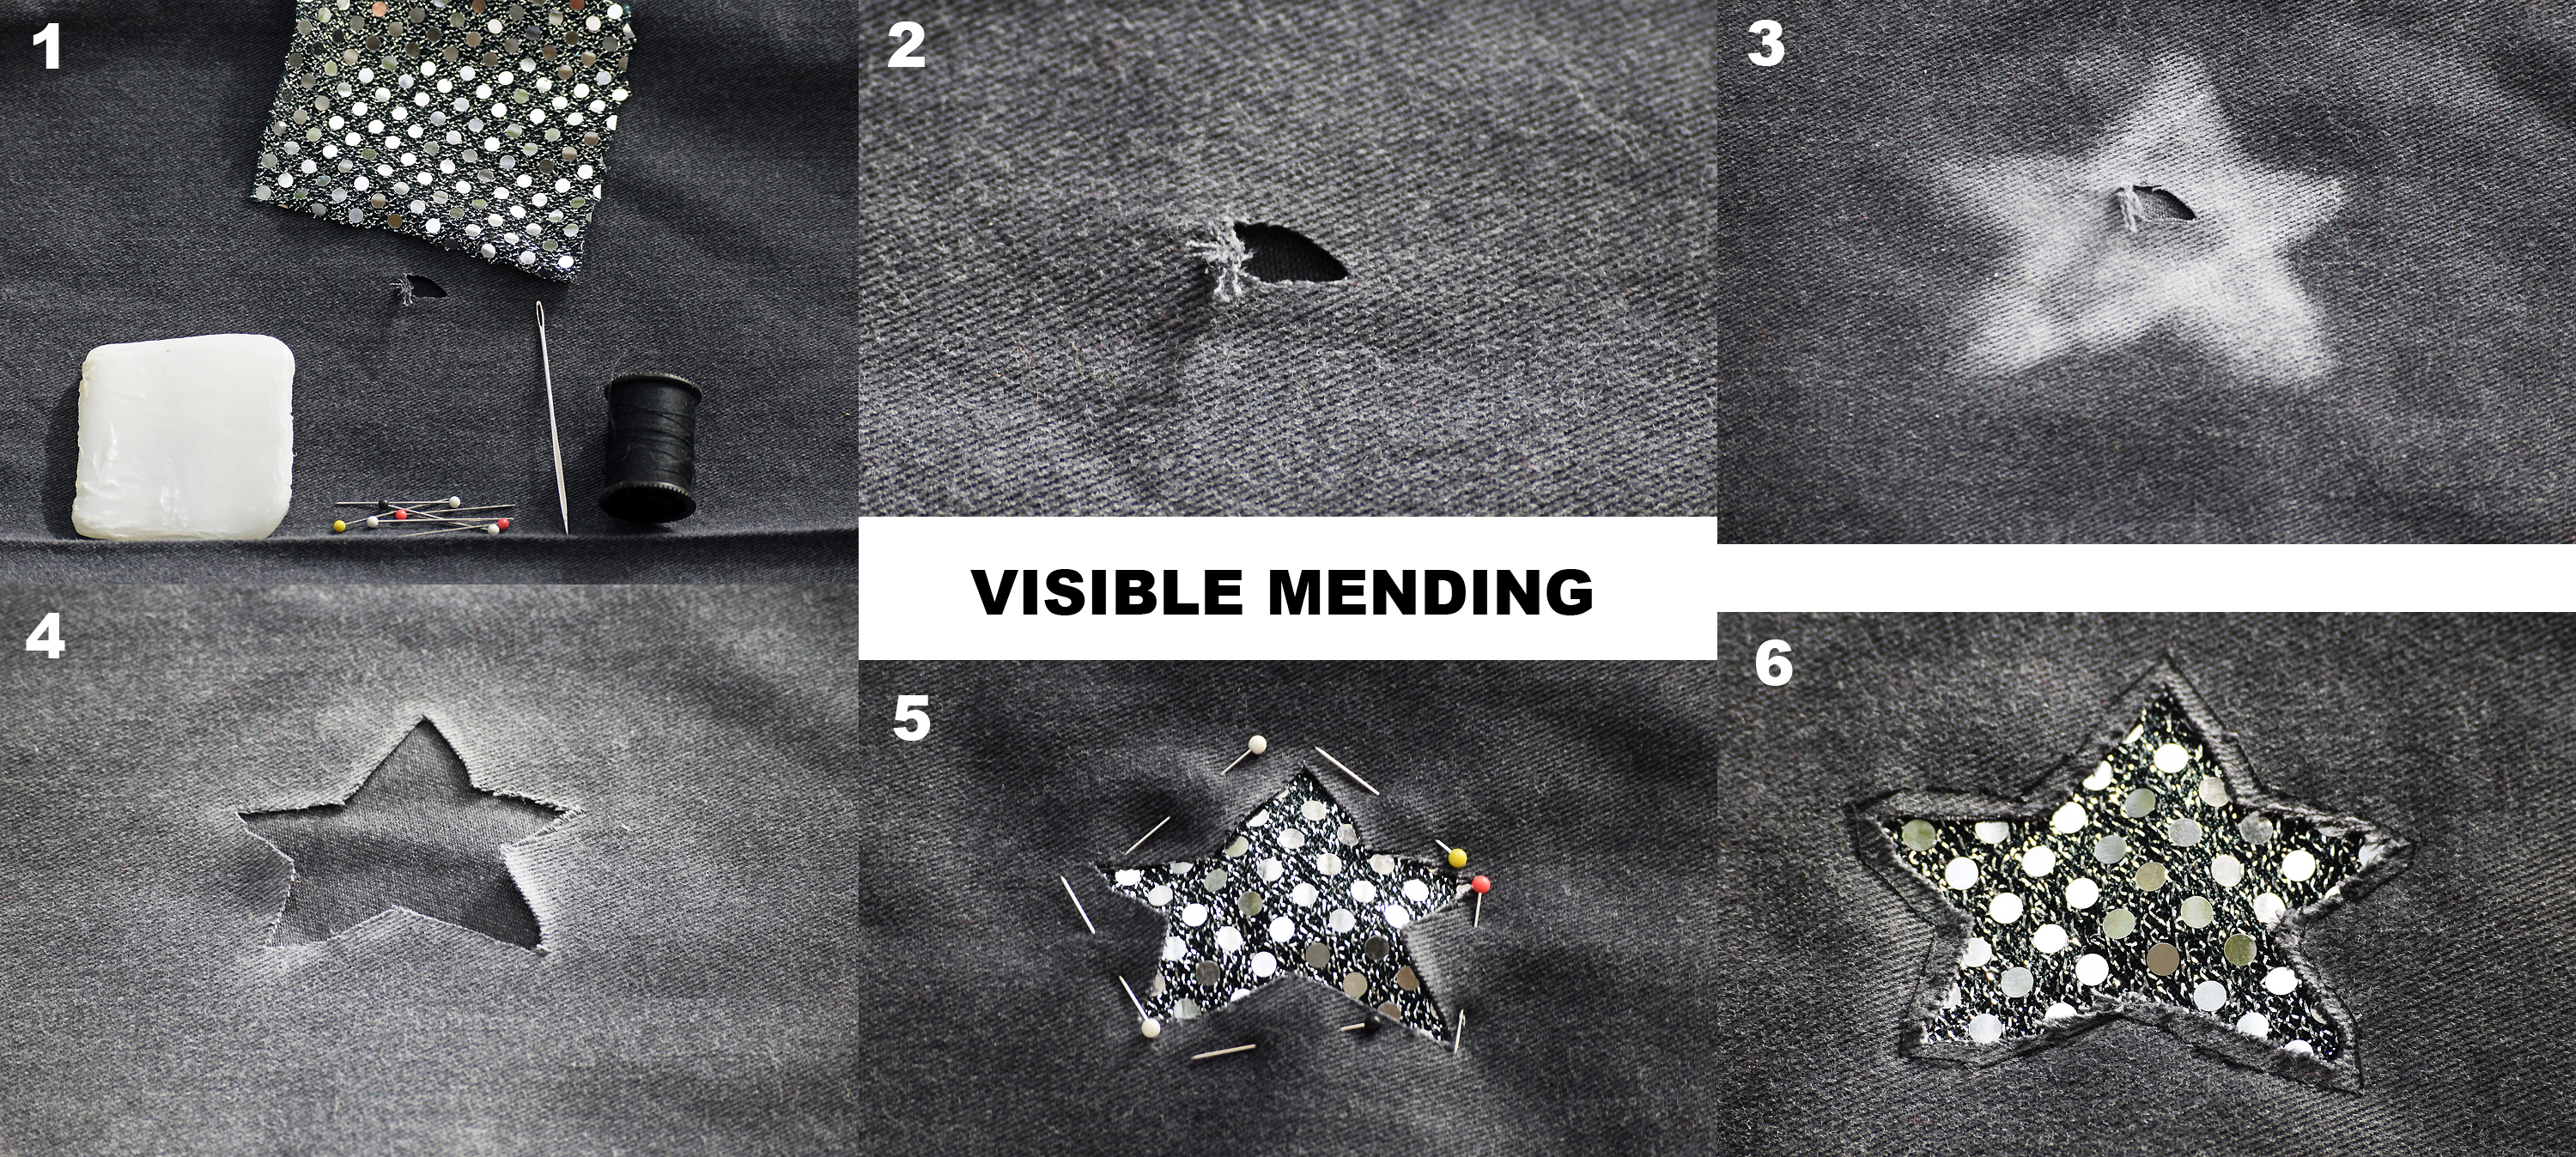
- You'll need your holey clothing, needle, thread, pins, scissors, soap, and a fun fabric. You can use something that has a graphic or something like what I used here: a scrap bit of shiny fabric from another project.
- If you're skipping the optional steps #3 and #4, just trim away any excess threads from around the hole and skip to step #5.
- (Optional) If you like, use the soap to draw a shape around the hole. Any shape will do: you can make a star like I did or match the general shape of the graphic on your fabric (if you're using fabric with a picture).
- (Optional) Cut out your shape.
- Cut your scrap of fabric so that there's at least 2 inches extra around all sides of the shape or hole. Place your scrap of fabric inside your clothing, centered on your hole. Pin it in place with a few pins. This helps keep the scrap in place as you sew.
- Using one of the stitches you learned, sew around your shape. You don't want to get too close to the edges of your hole because your sewing thread won't grip the fabric well. As you sew, remove the pins. When you're done, if your scrap of fabric is much bigger than your hole, you can trim it closer to where your sewing line is - but, again, not too close.
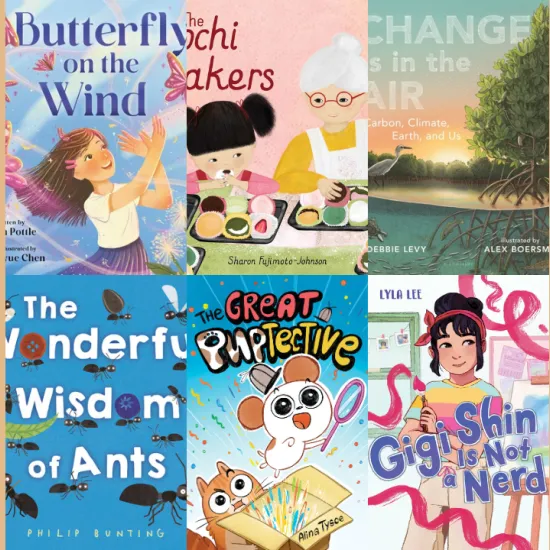
For more visible mending inspiration check out a variety of books from our collection. You can find some of our favorites, here.