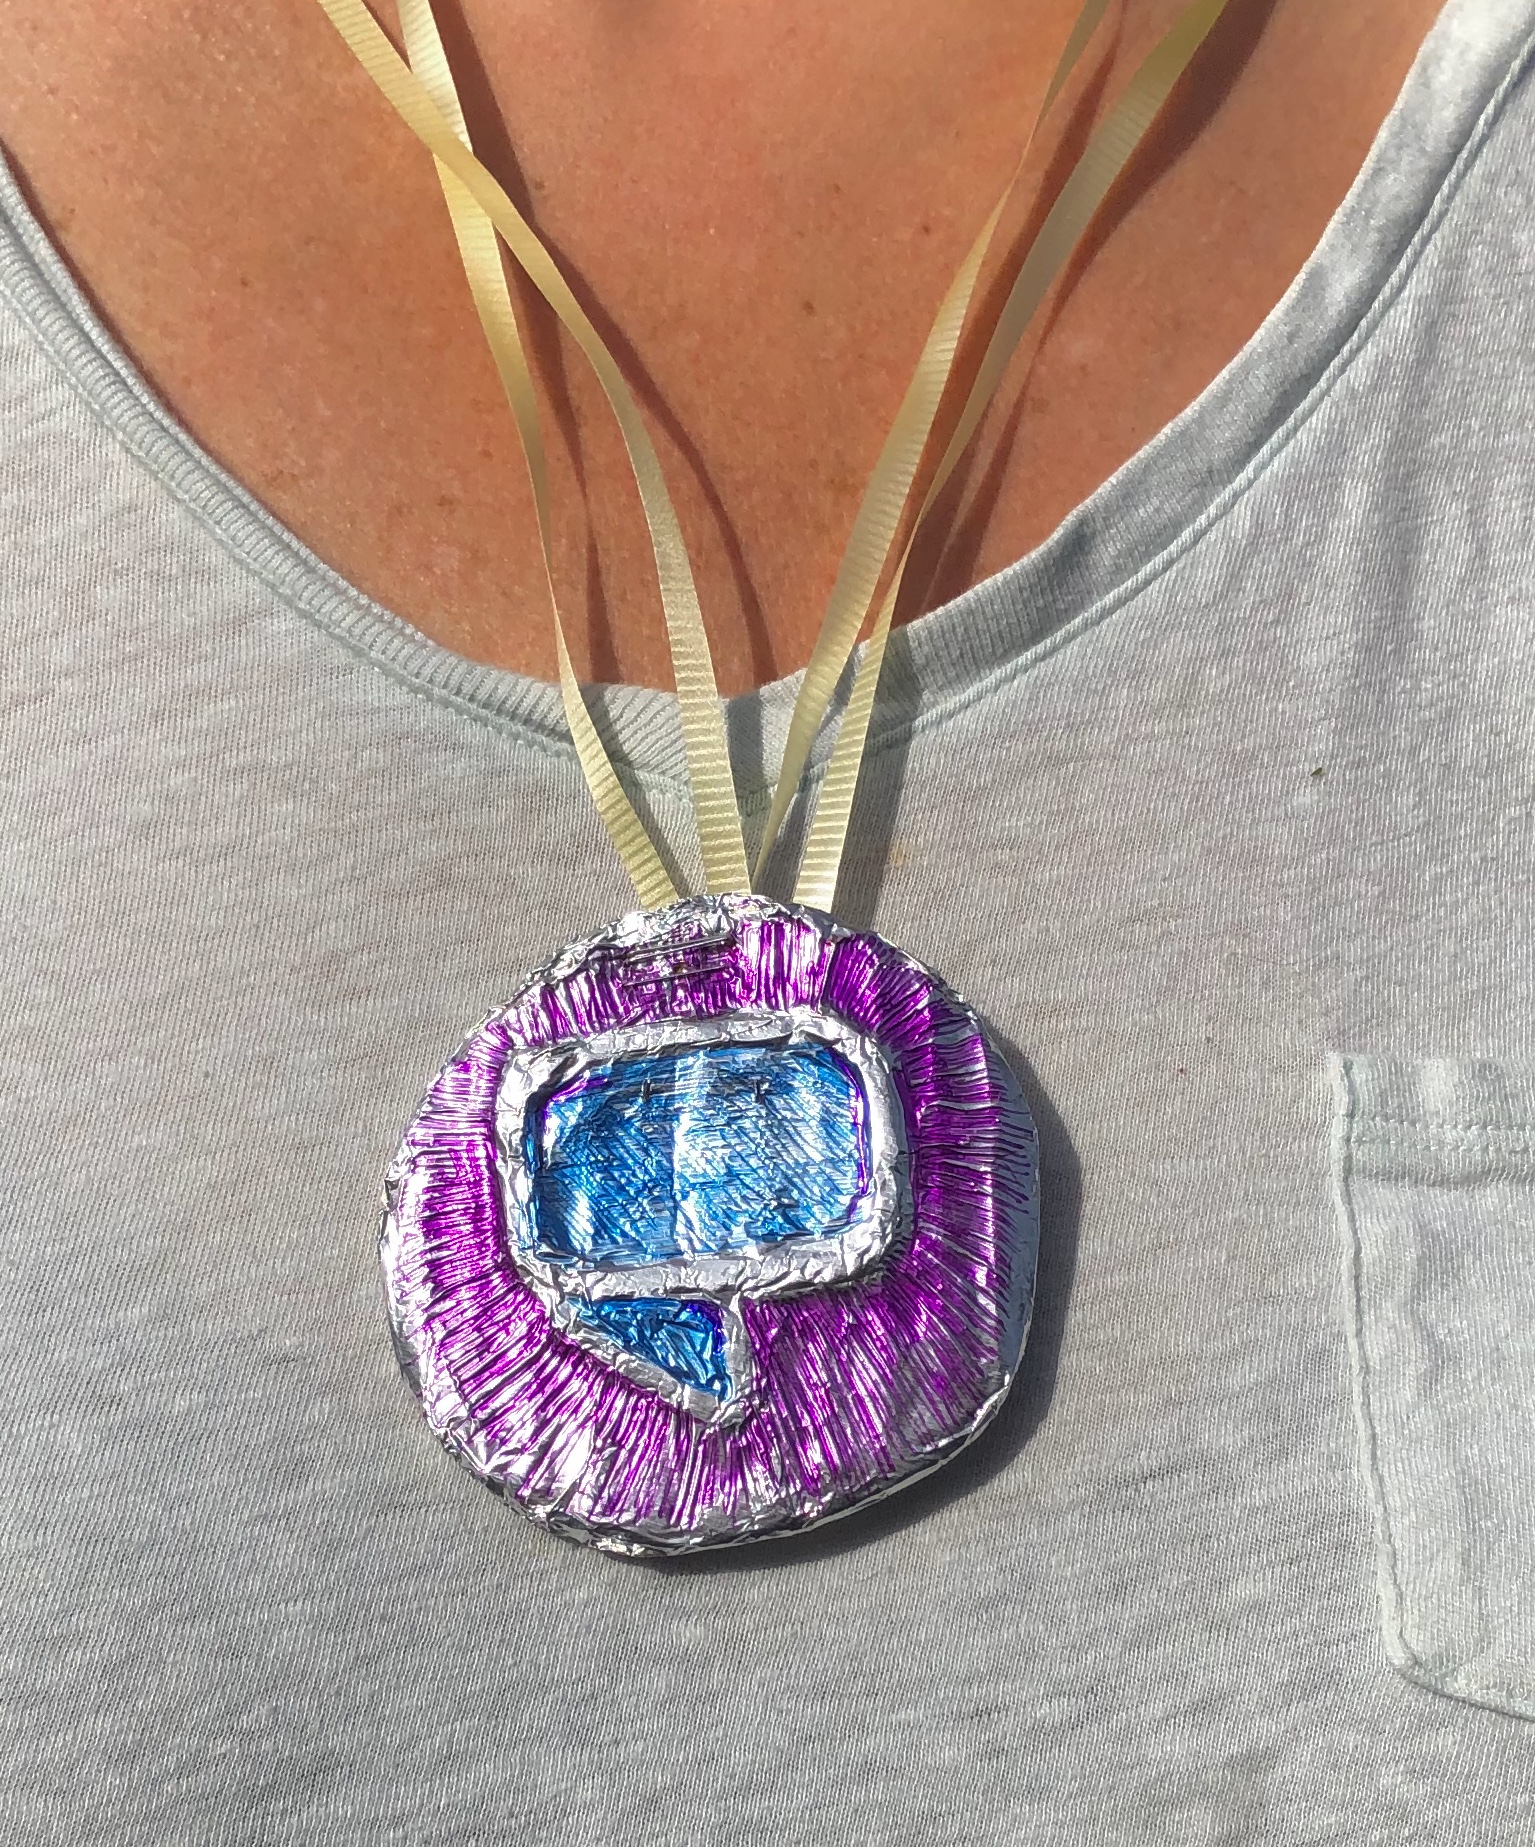
Here’s a quick and easy way to create your own super cool Summer Learning Challenge Medal so that you can celebrate in style!
Foil embossing is a simple technique that school-aged kids and adults alike can use, and combined with the bright colors of the Sharpies, the finished product shines and impresses just like a real medal. Create your own design or use the one we’ve given in this tutorial.
Materials
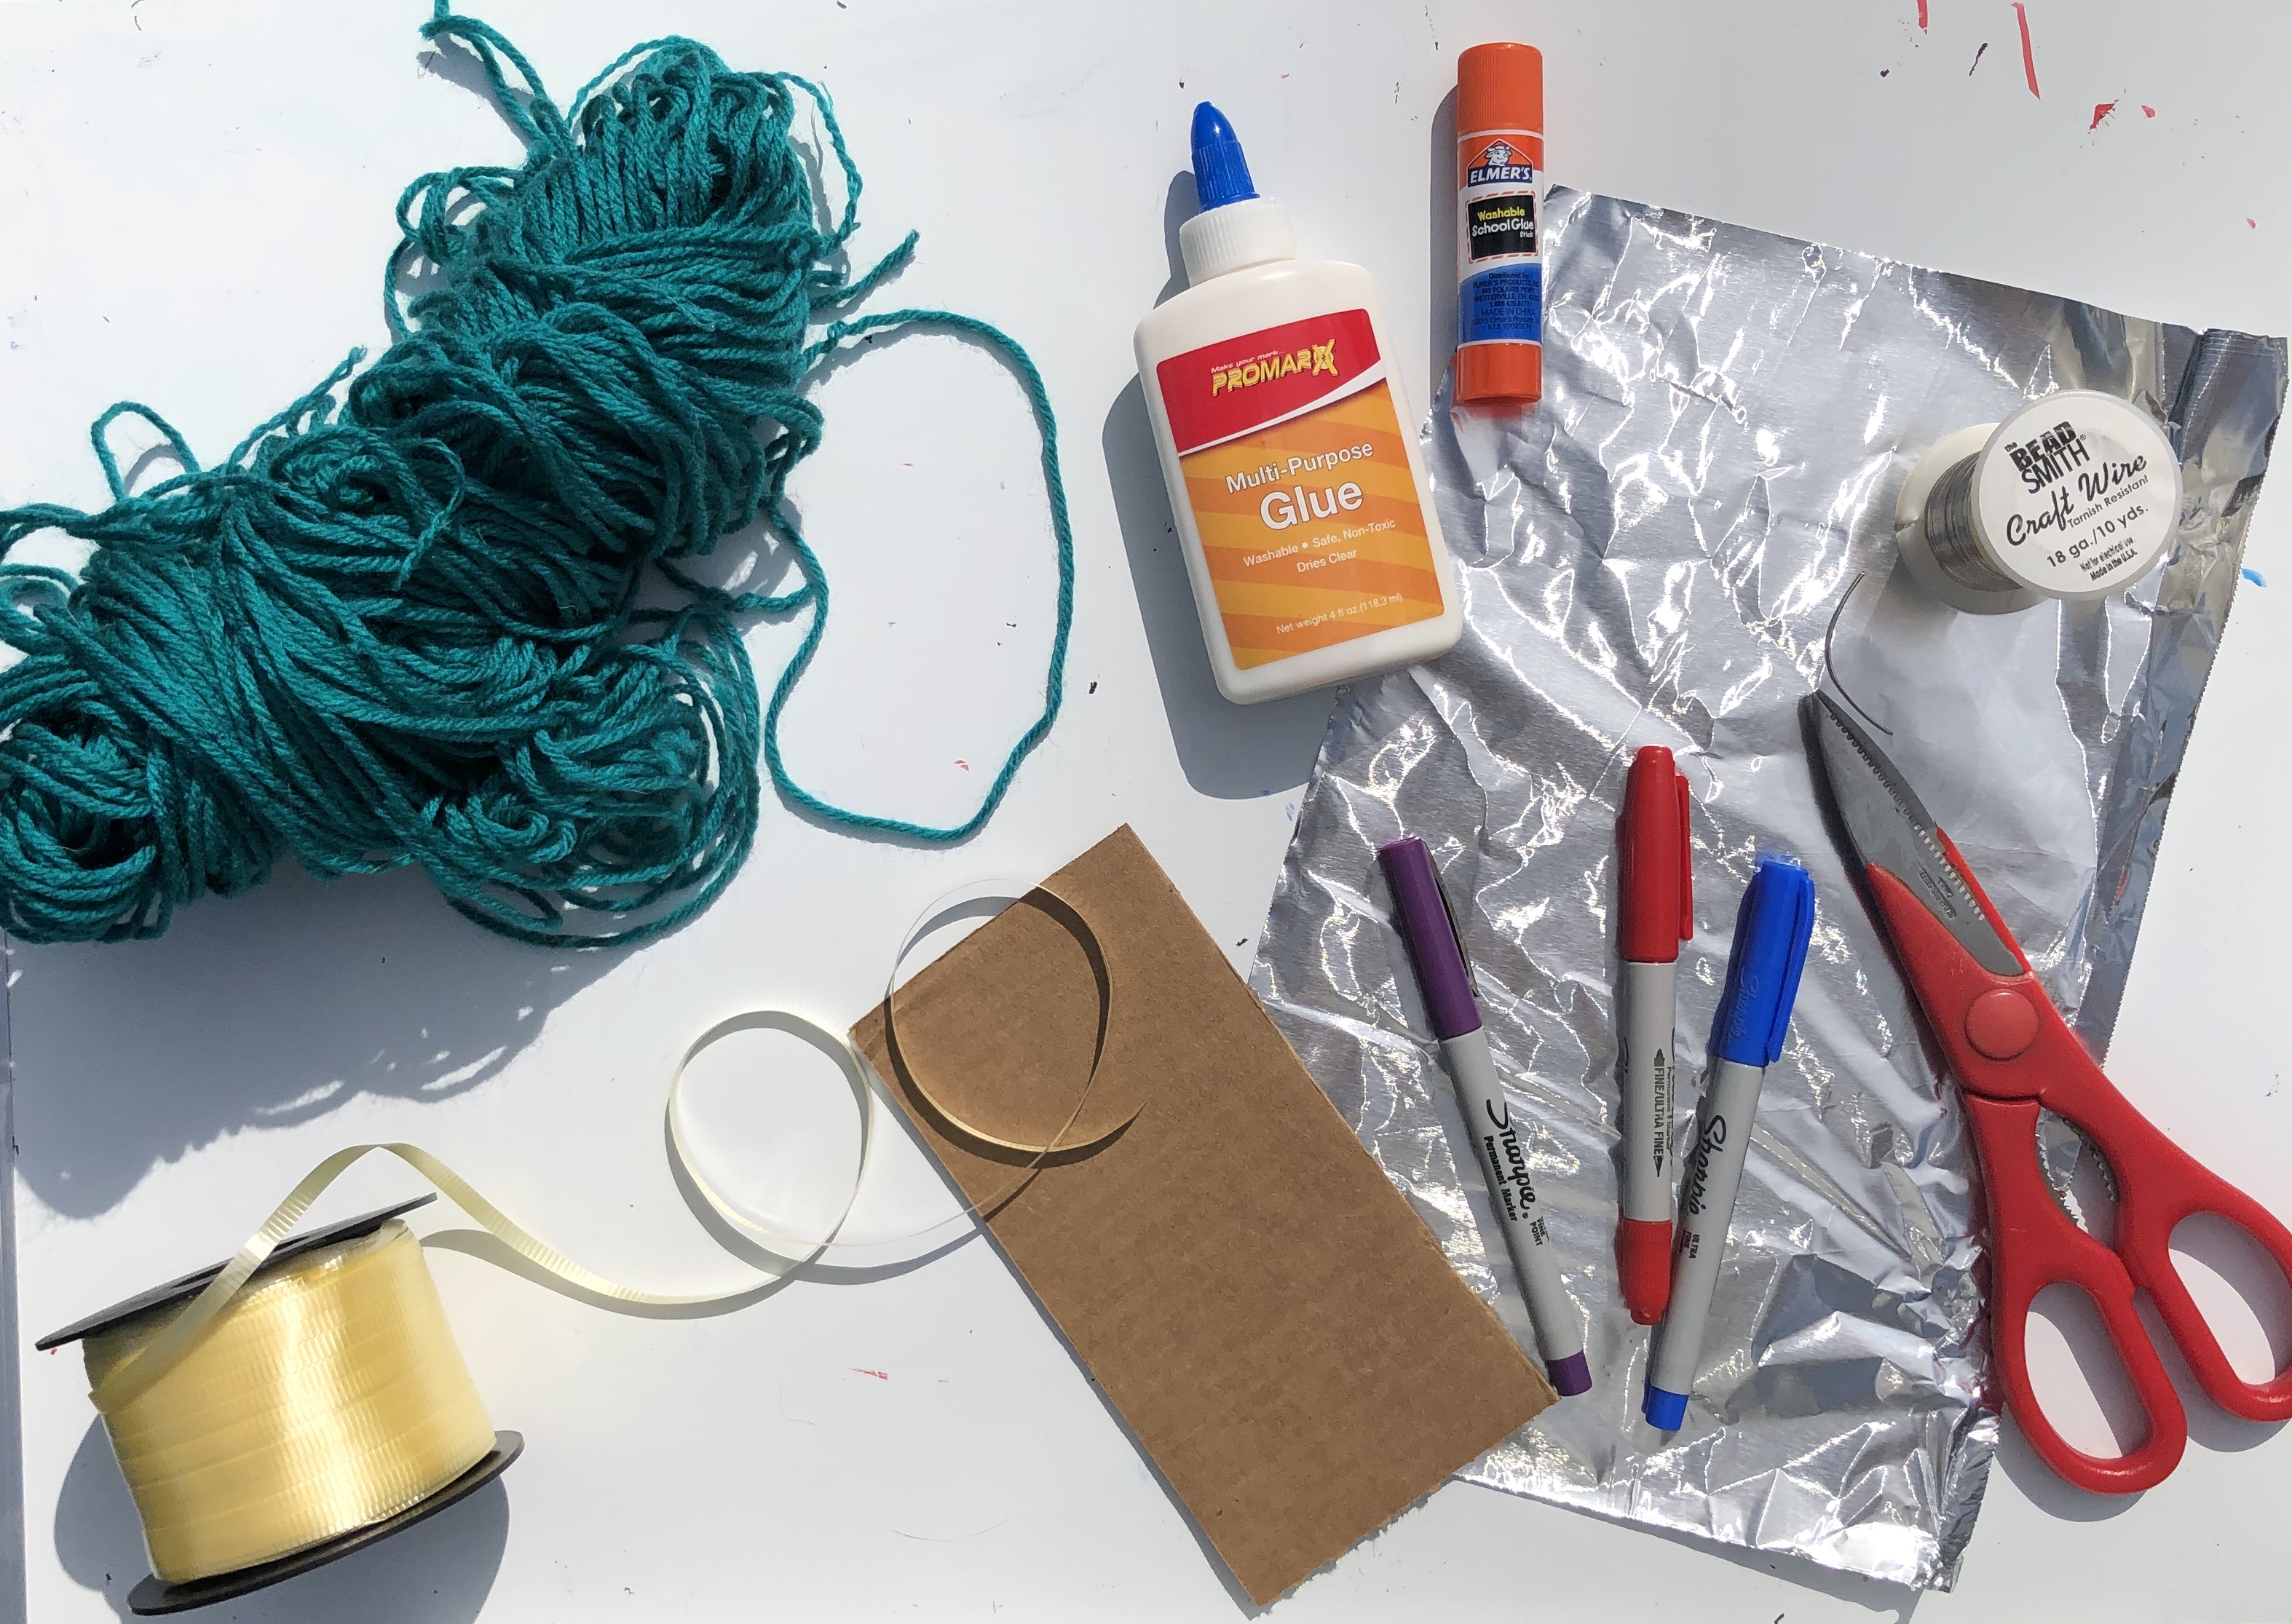
• Aluminum Foil
• Small piece of Carboard, cut into a circle, medallion size
• Glue stick or Elmer’s glue
• Ribbon
• Yarn
• Sharpies – any colors
• Scissors
• Tape or stapler or wire* for attaching ribbon to medallion
*If you have jewelry wire nearby, get a more authentic look to your medallion by curling a piece of wire into a loop, then inserting it through a hole in the top of the cardboard
Instructions
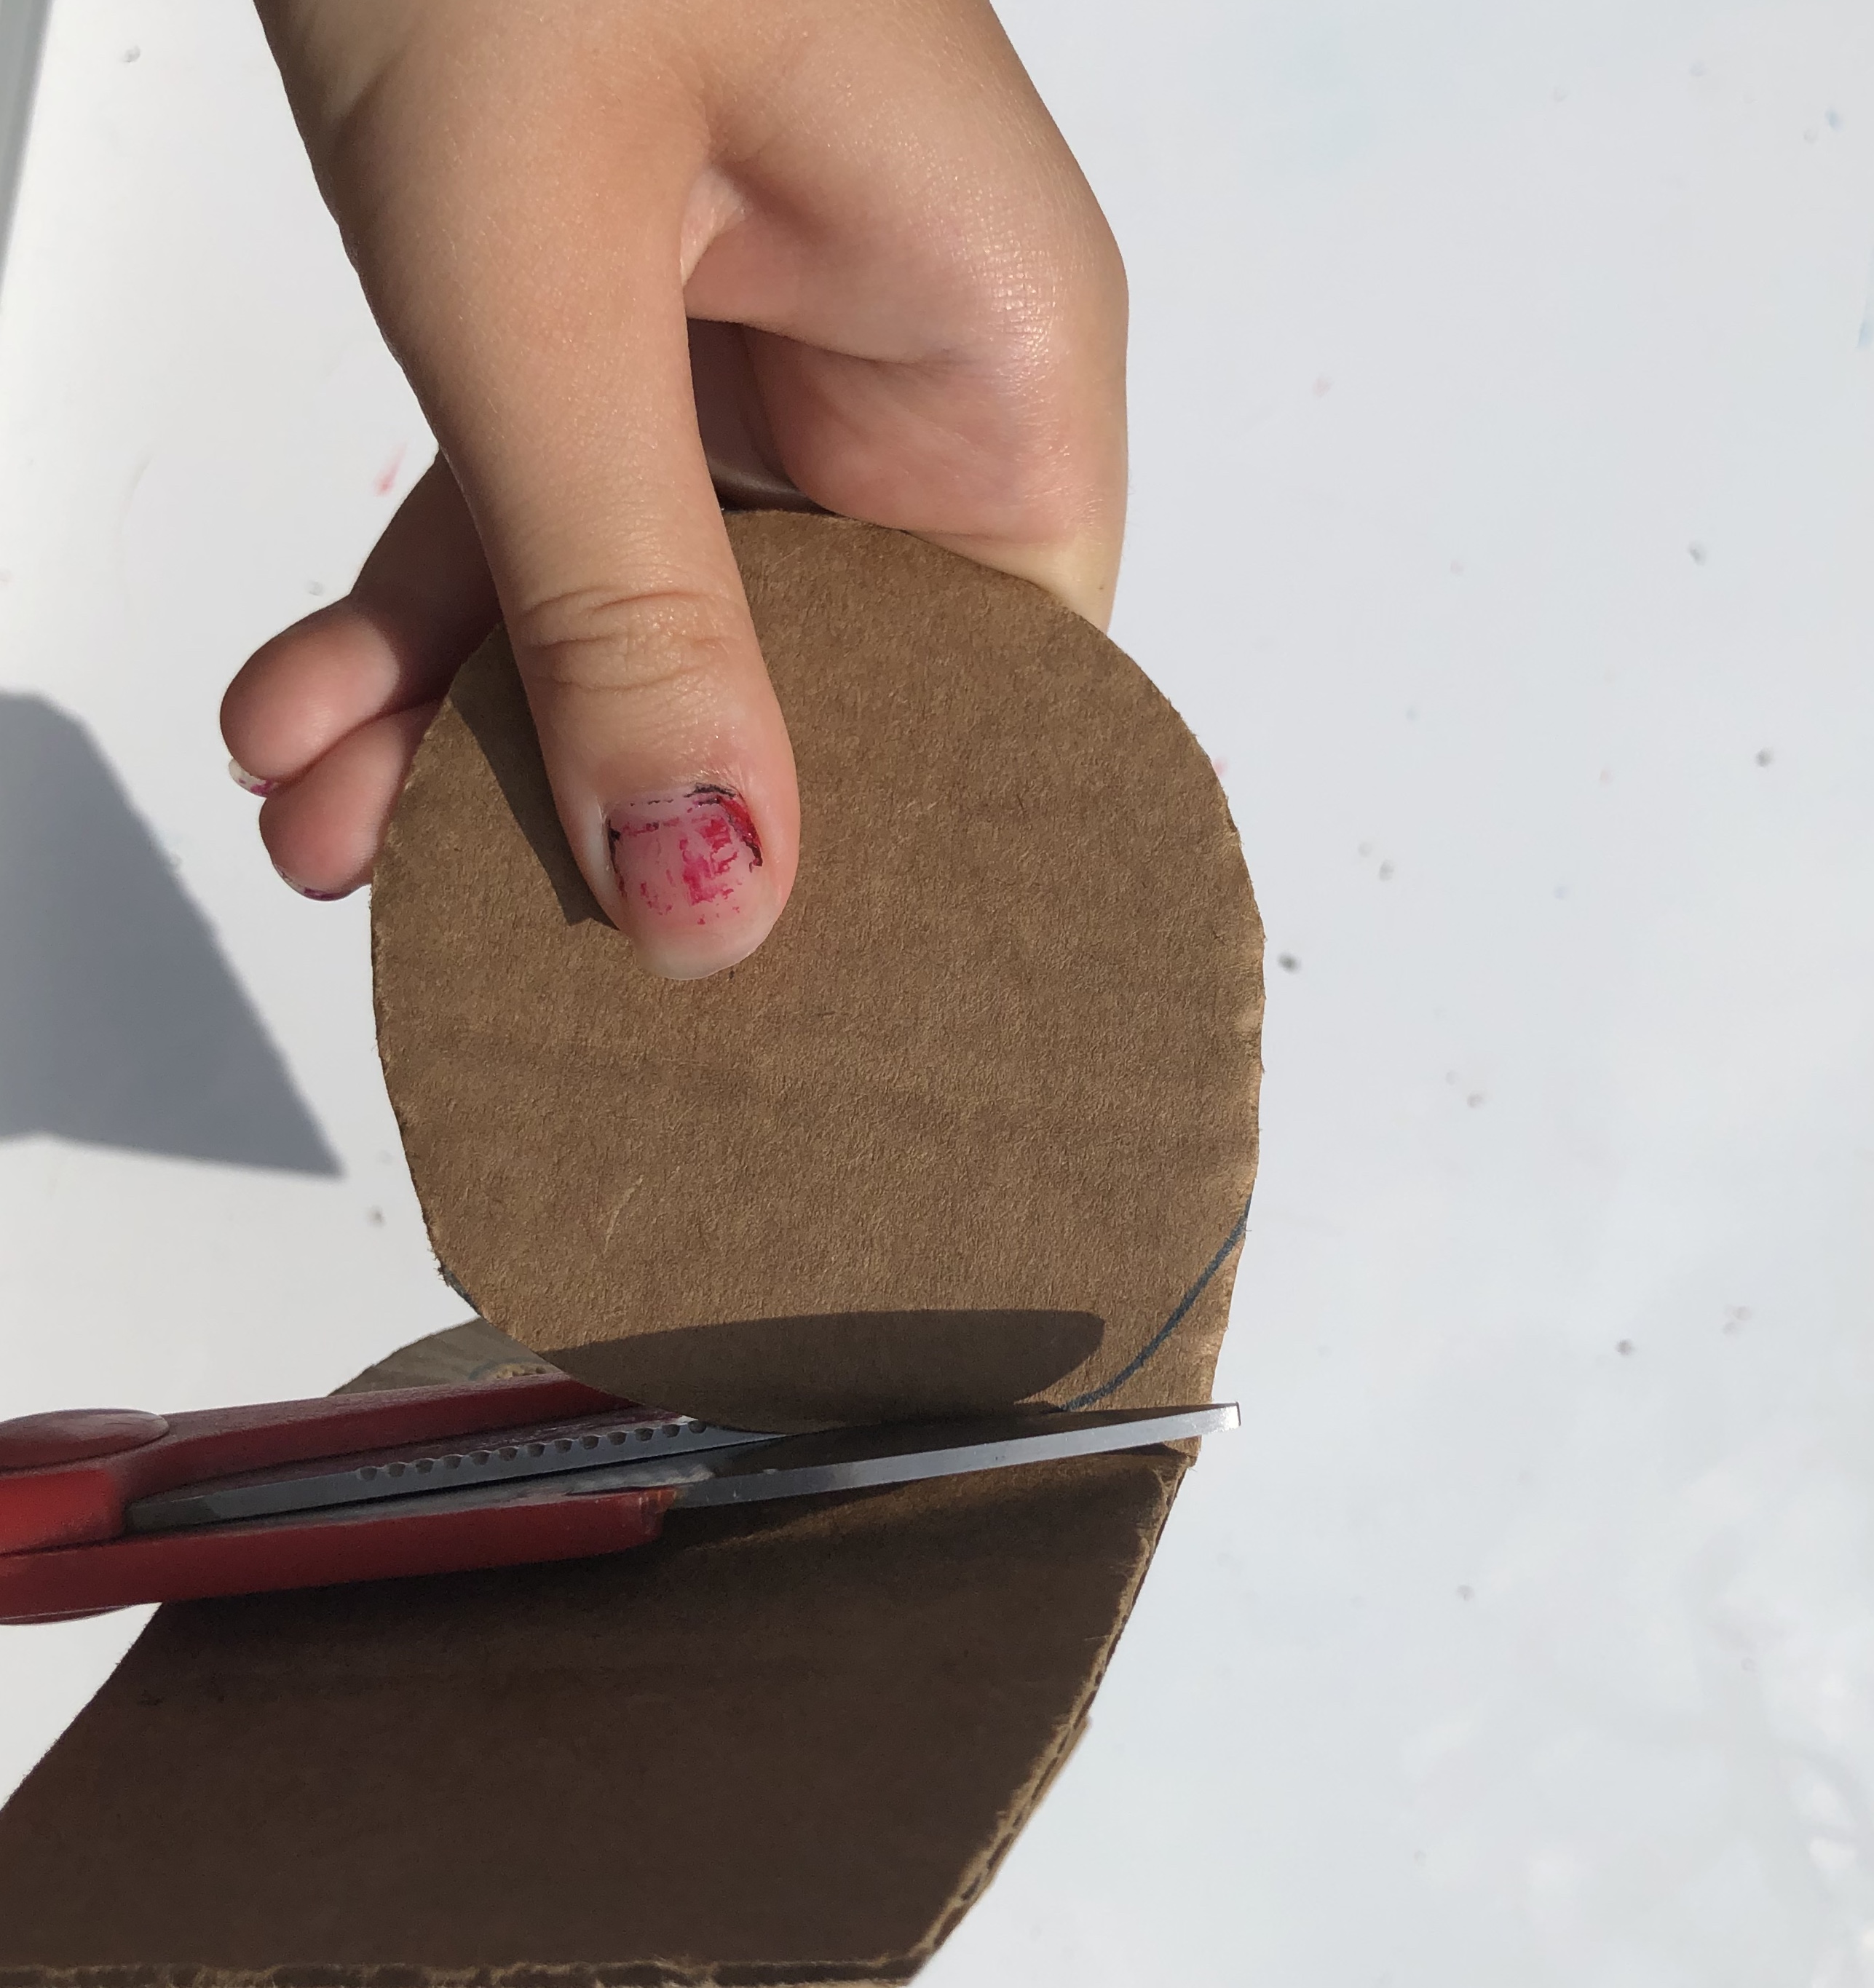
STEP 1
Cut out your cardboard circle for your medallion.
STEP 2
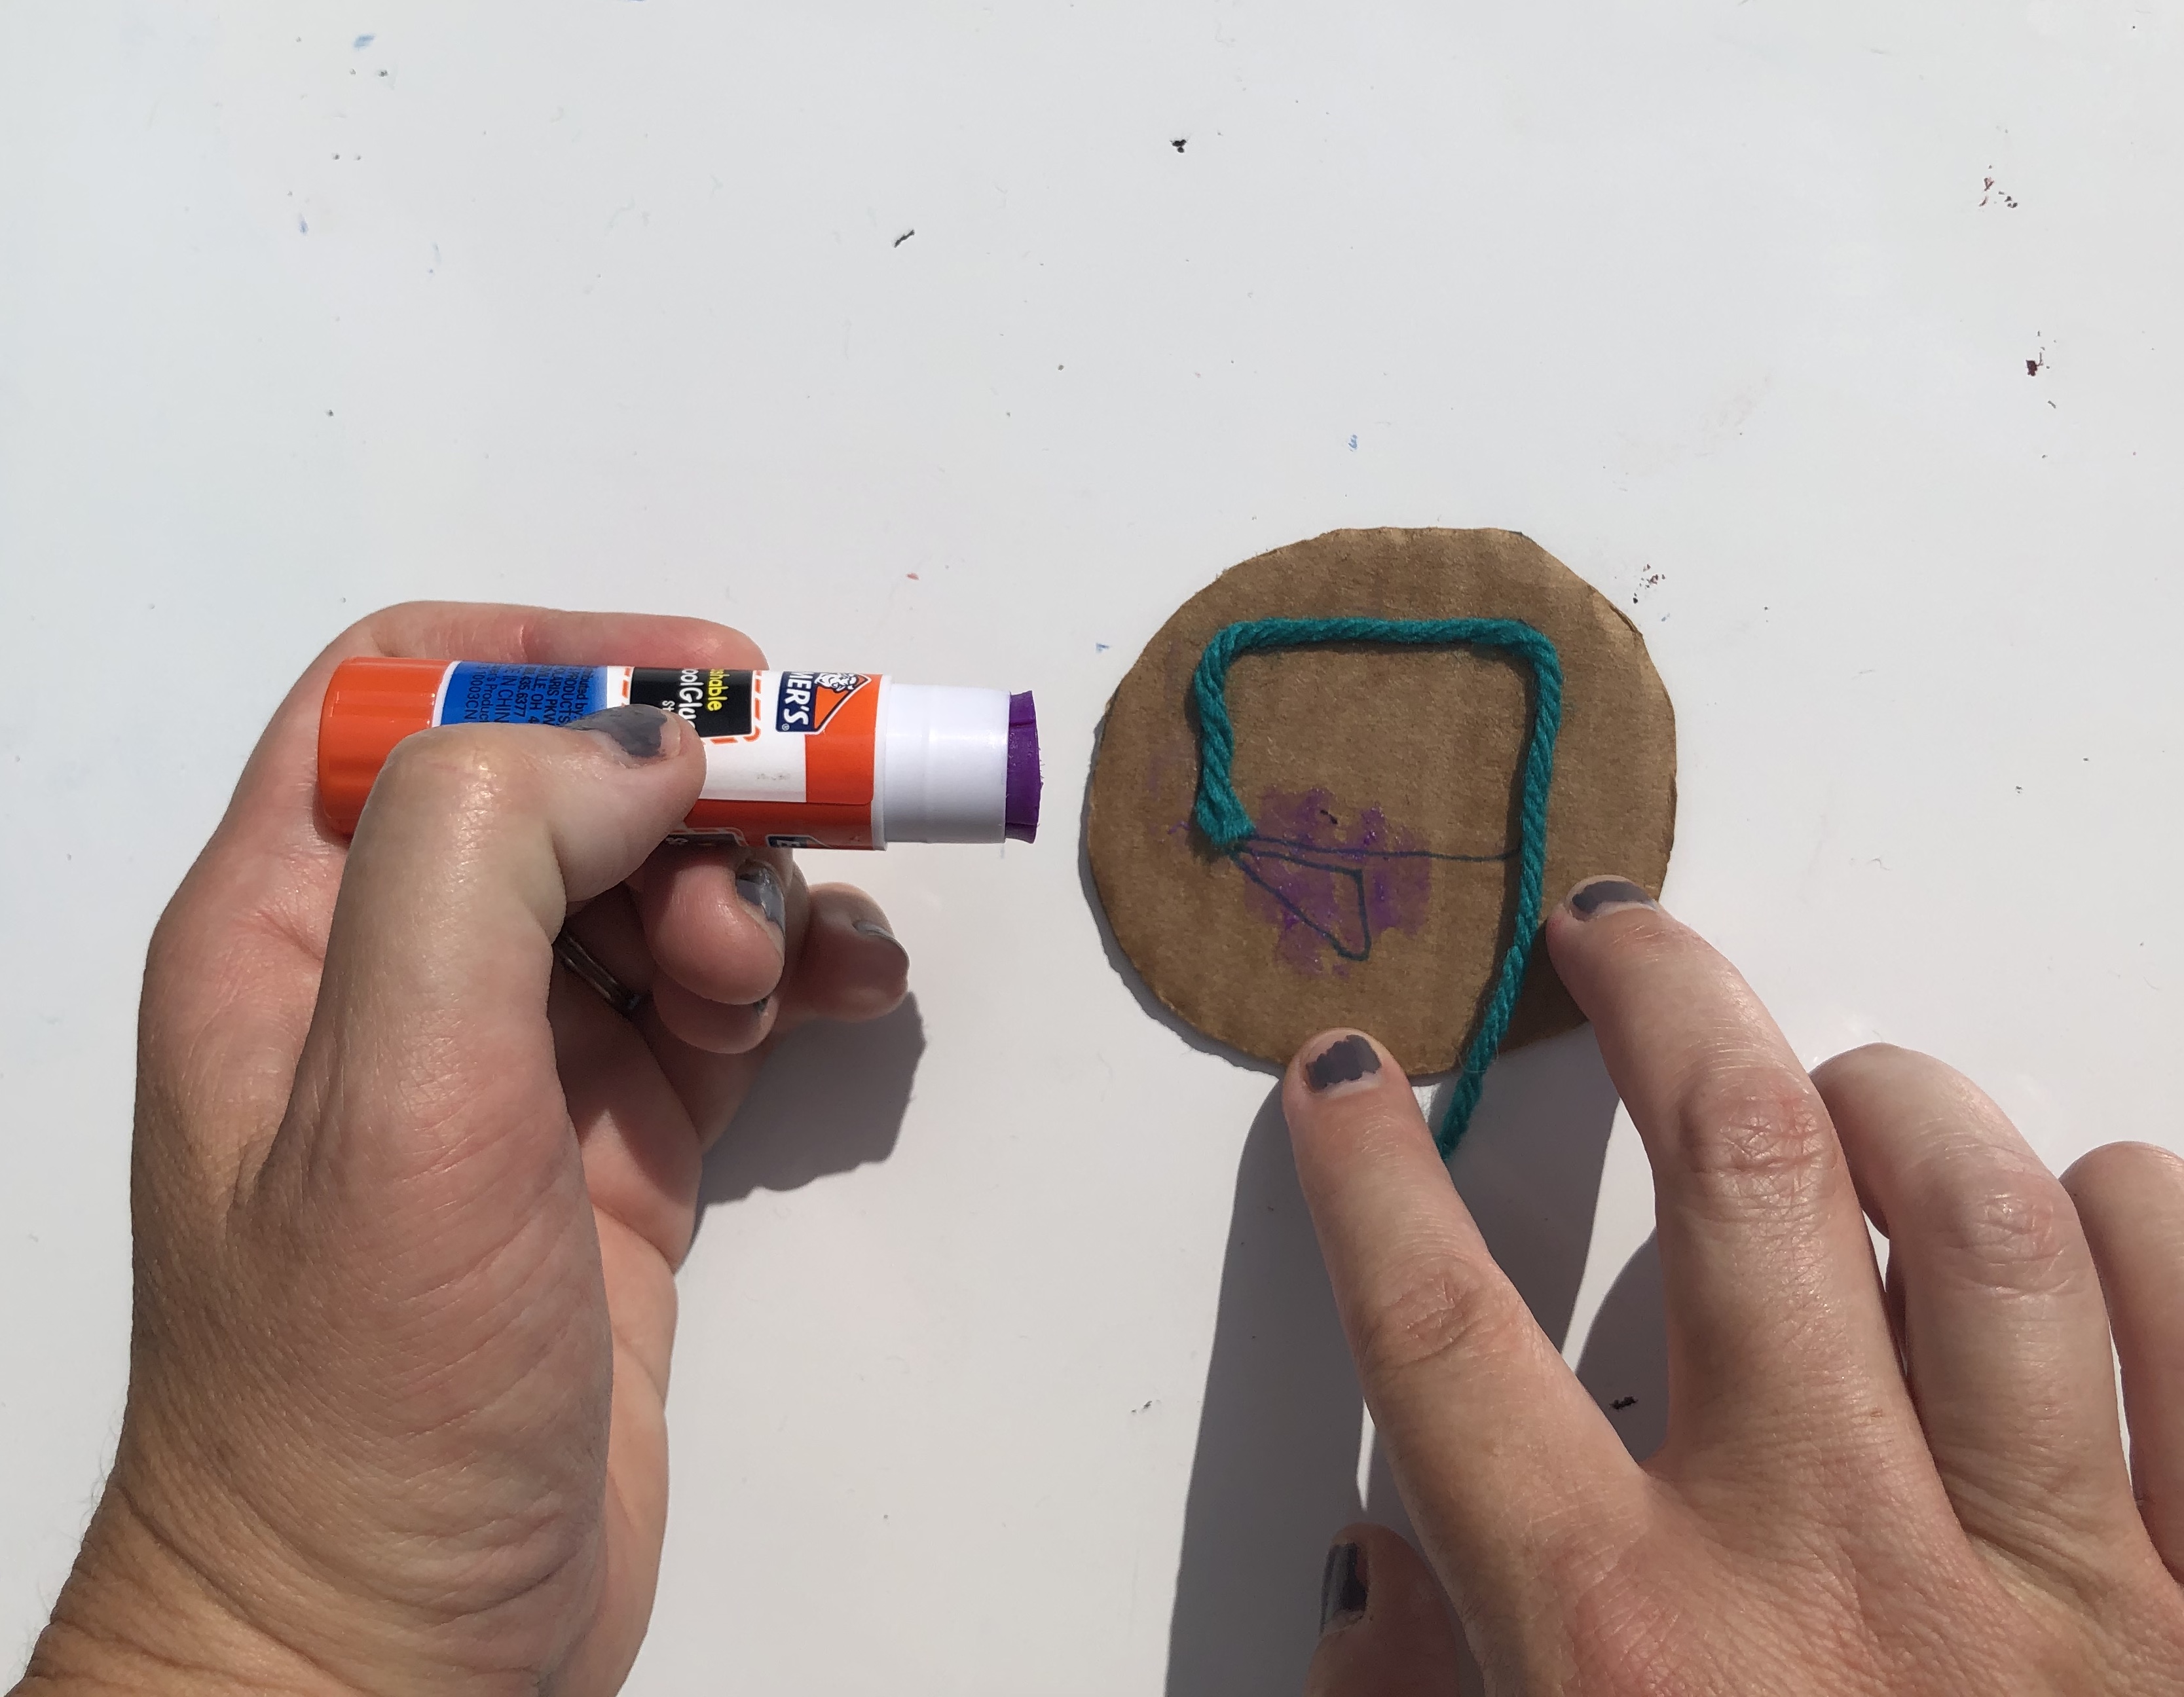
Draw your design onto your cardboard circle and use your glue stick to glue yarn onto the lines of your design.
STEP 3
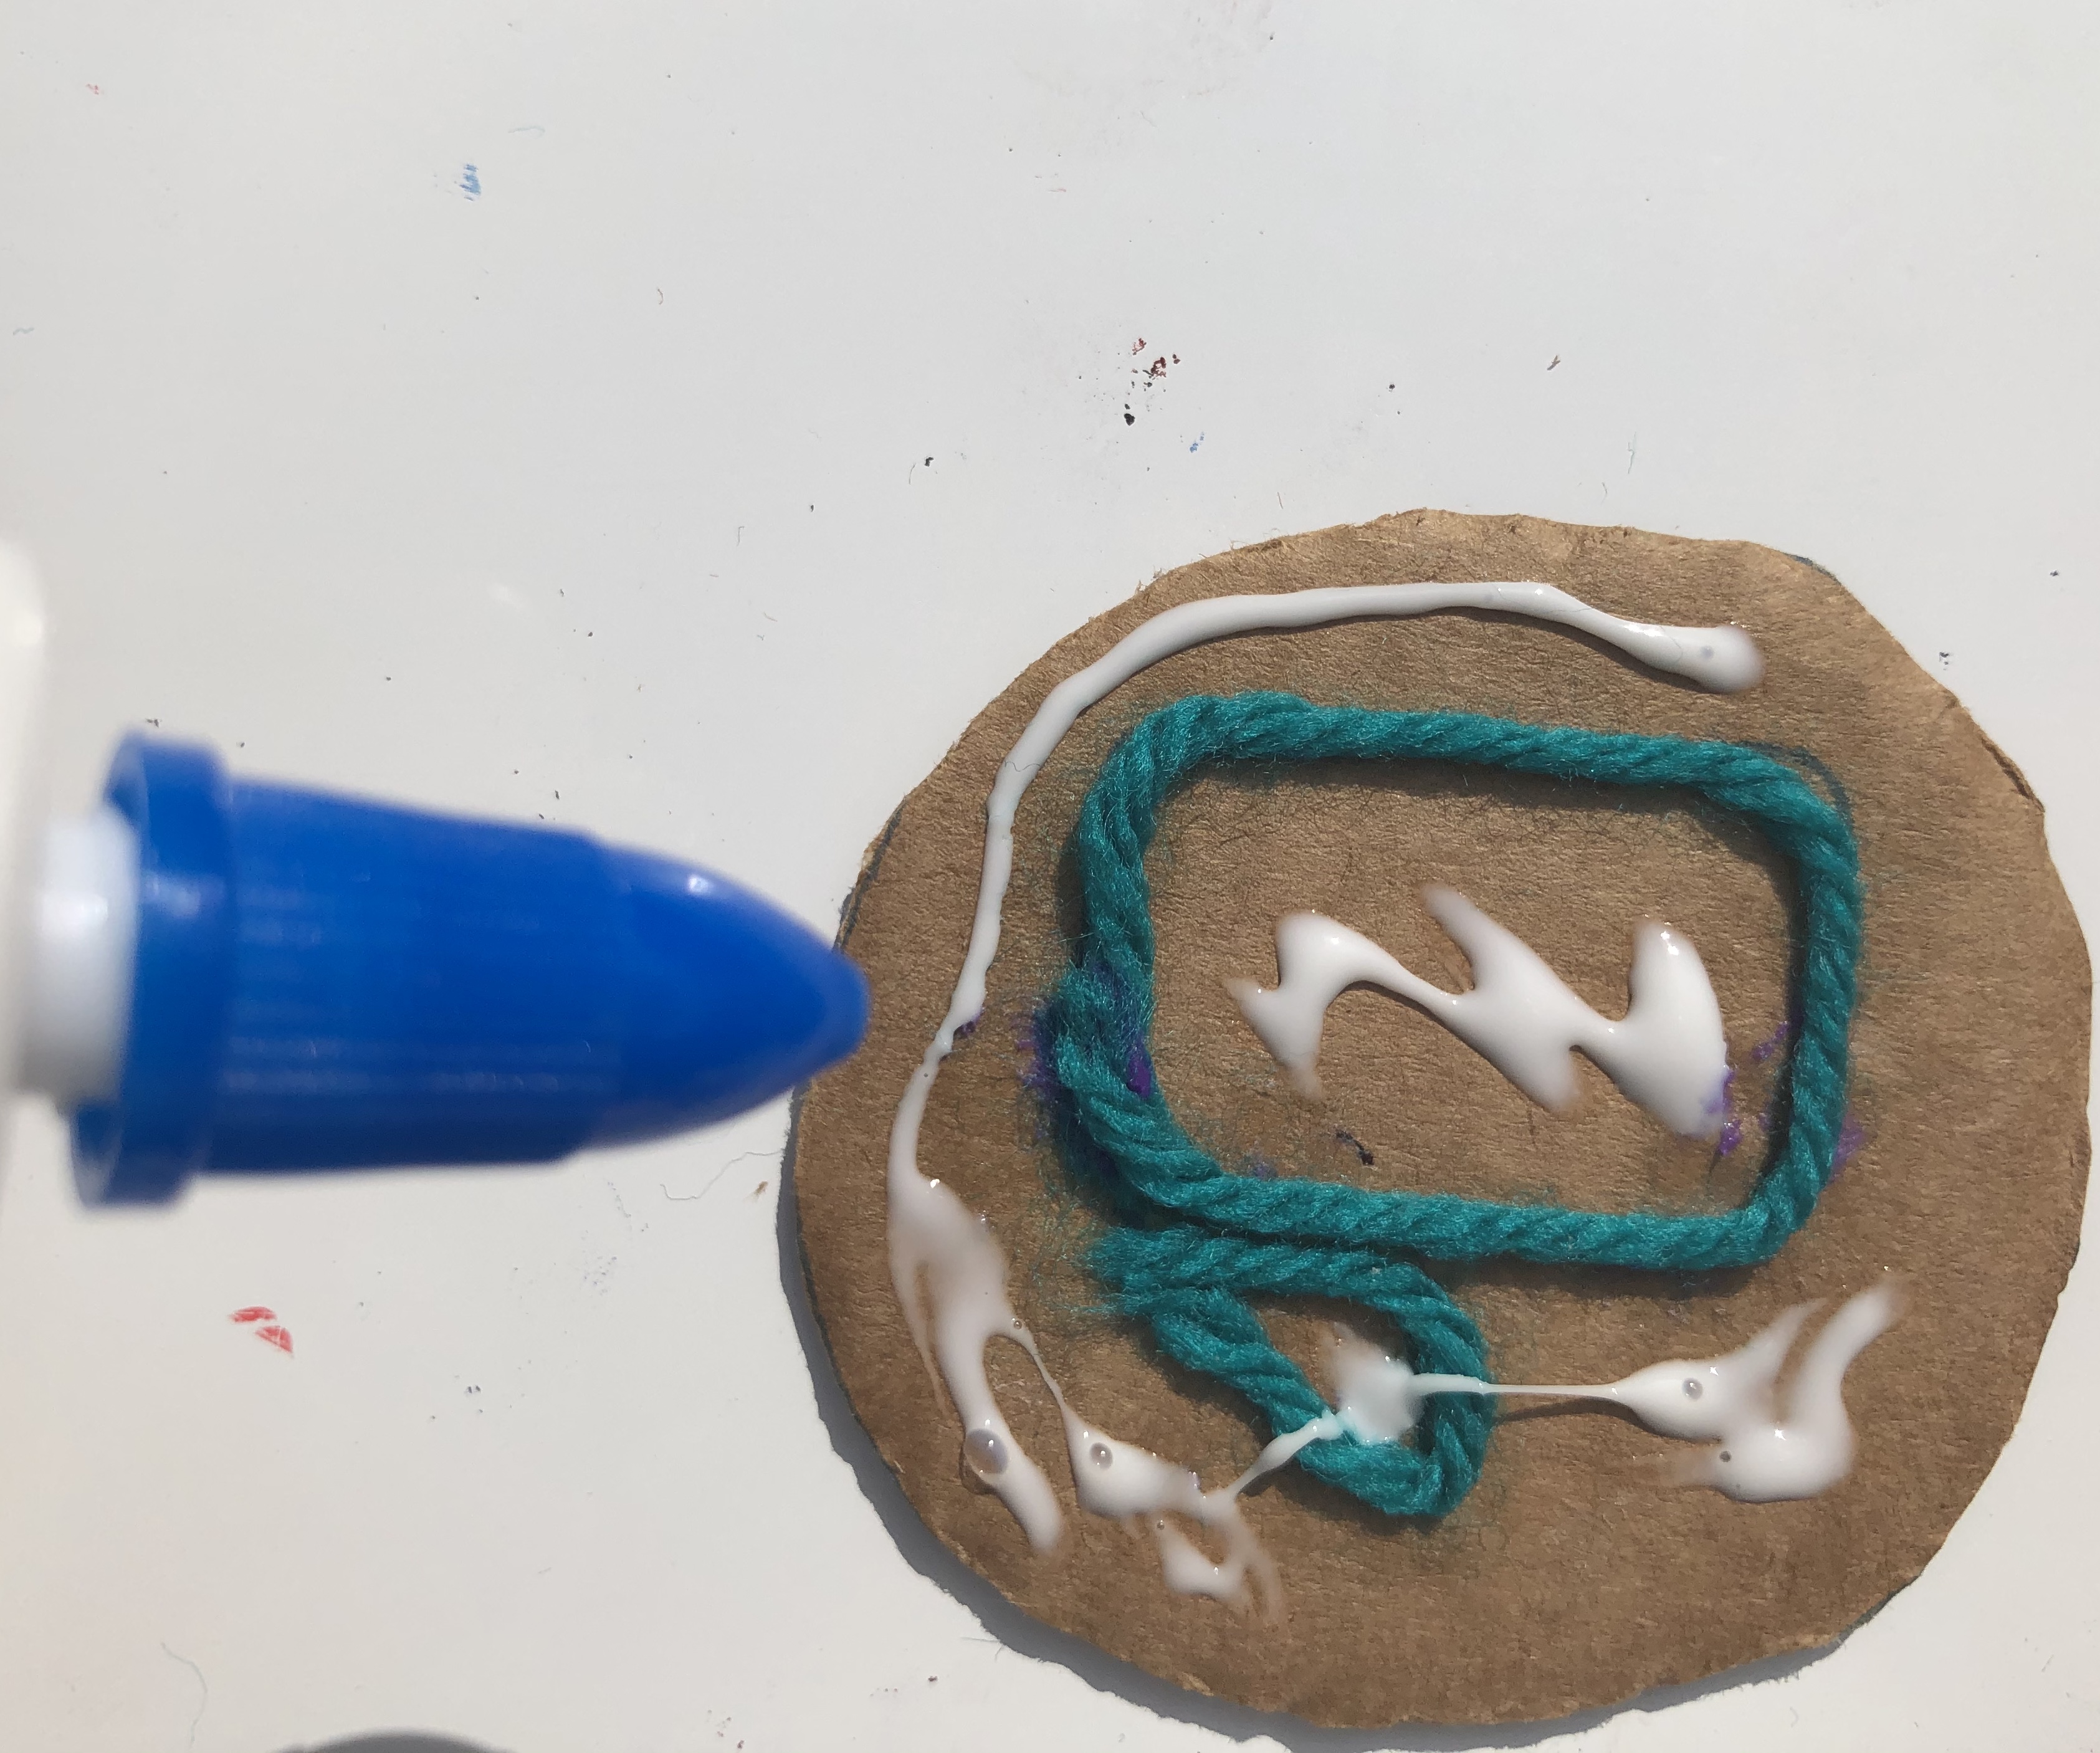
Apply liberal amount of glue onto the cardboard around the design, and attach foil on top of the yarn to cover the medallion.
STEP 4
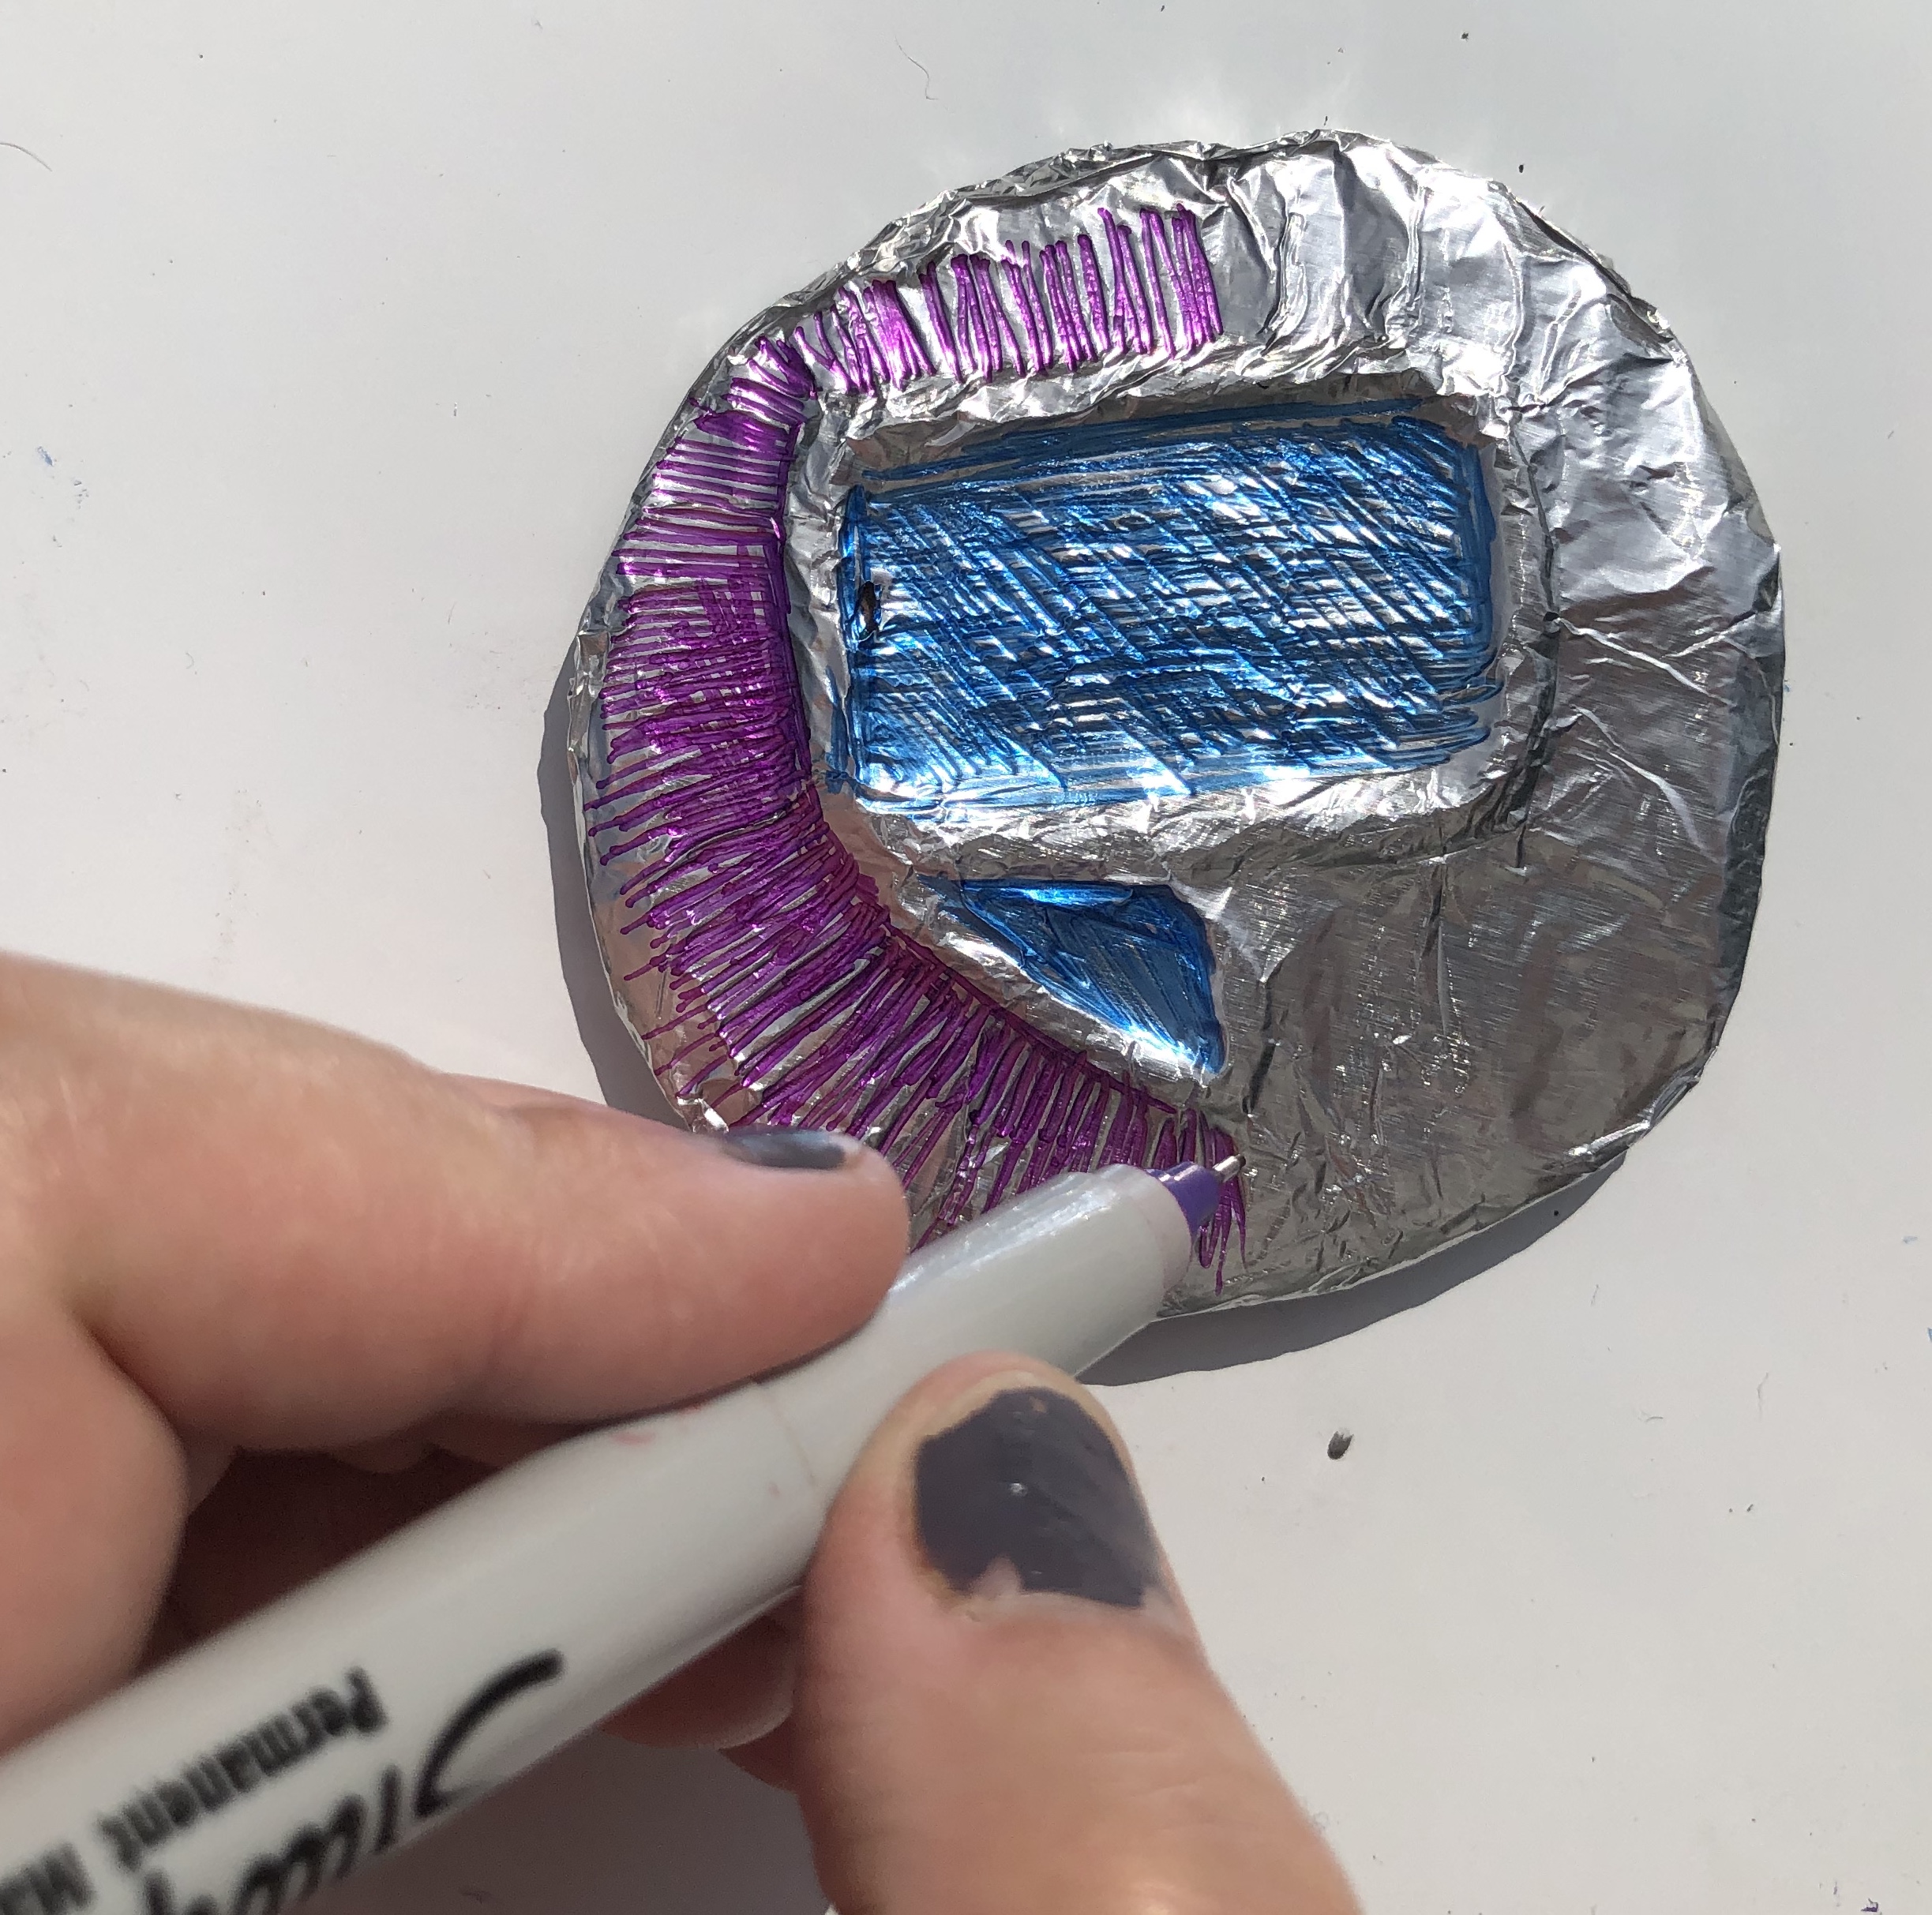
Emboss or press around the shape to create a raised image.

STEP 5
Once you have your shape nice and cleanly embossed, color in your design with permanent markers. Sharpies work the best!
STEP 6
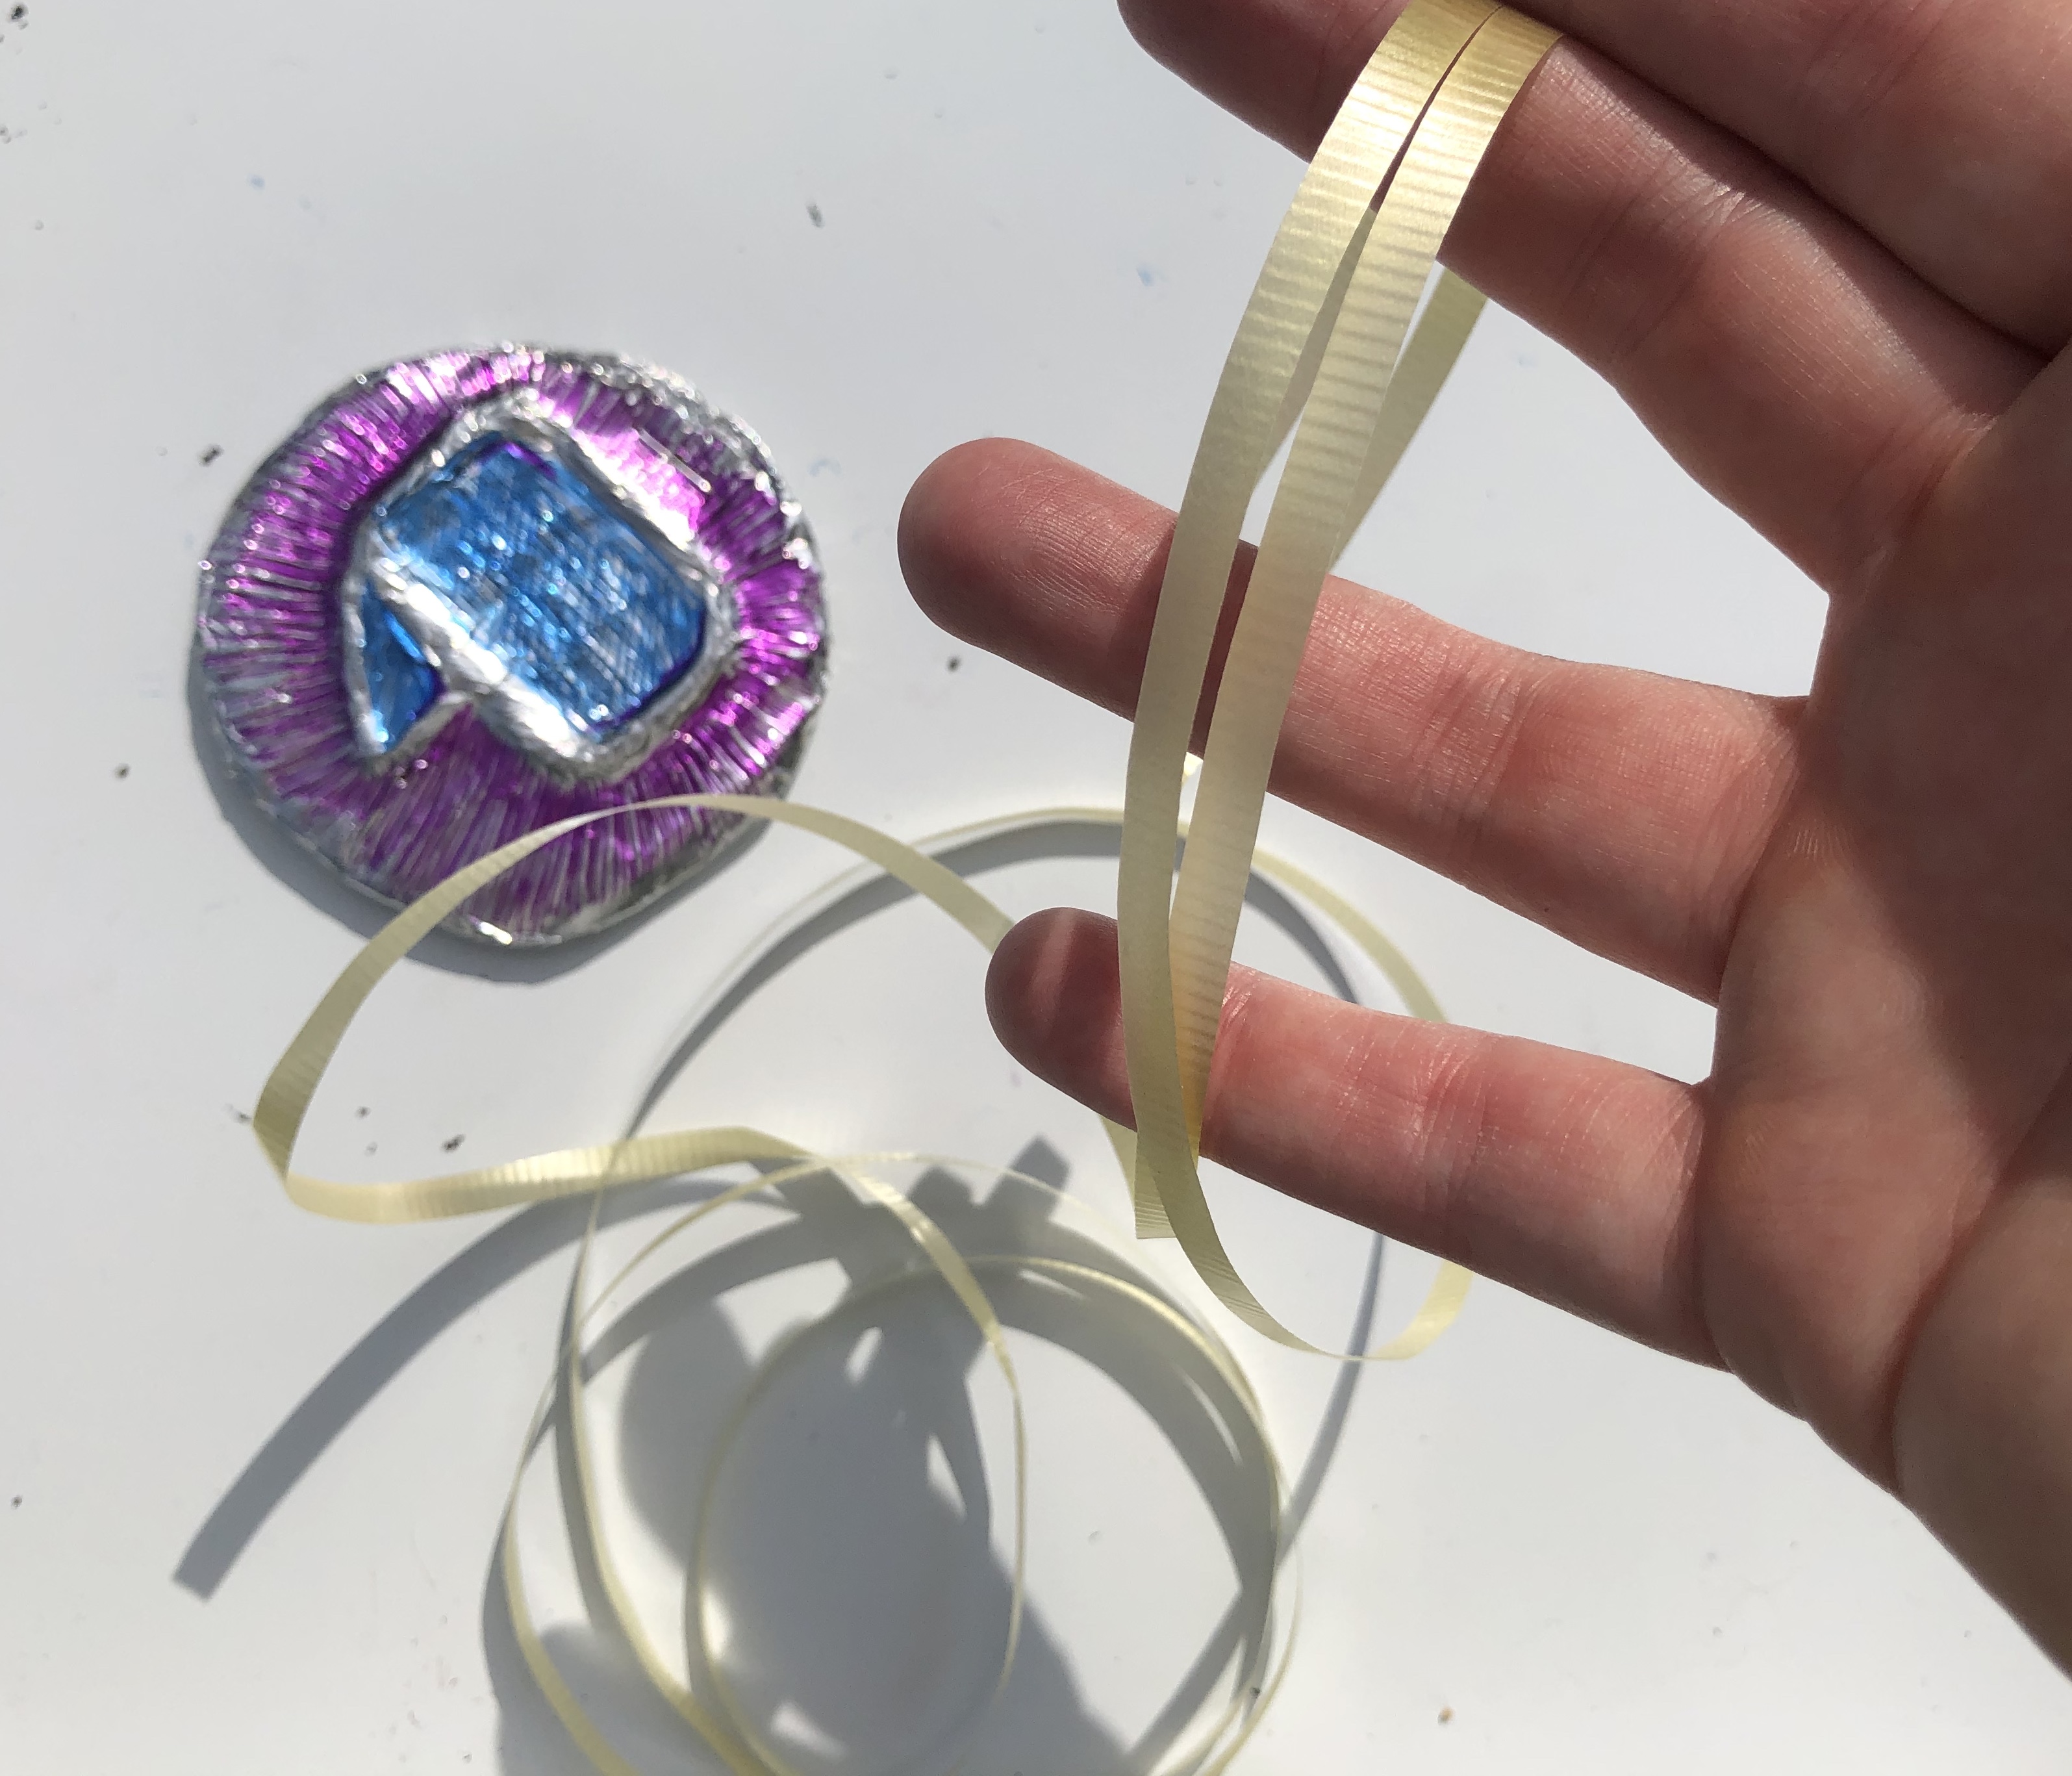
Measure some ribbon around your neck to size your medallion.
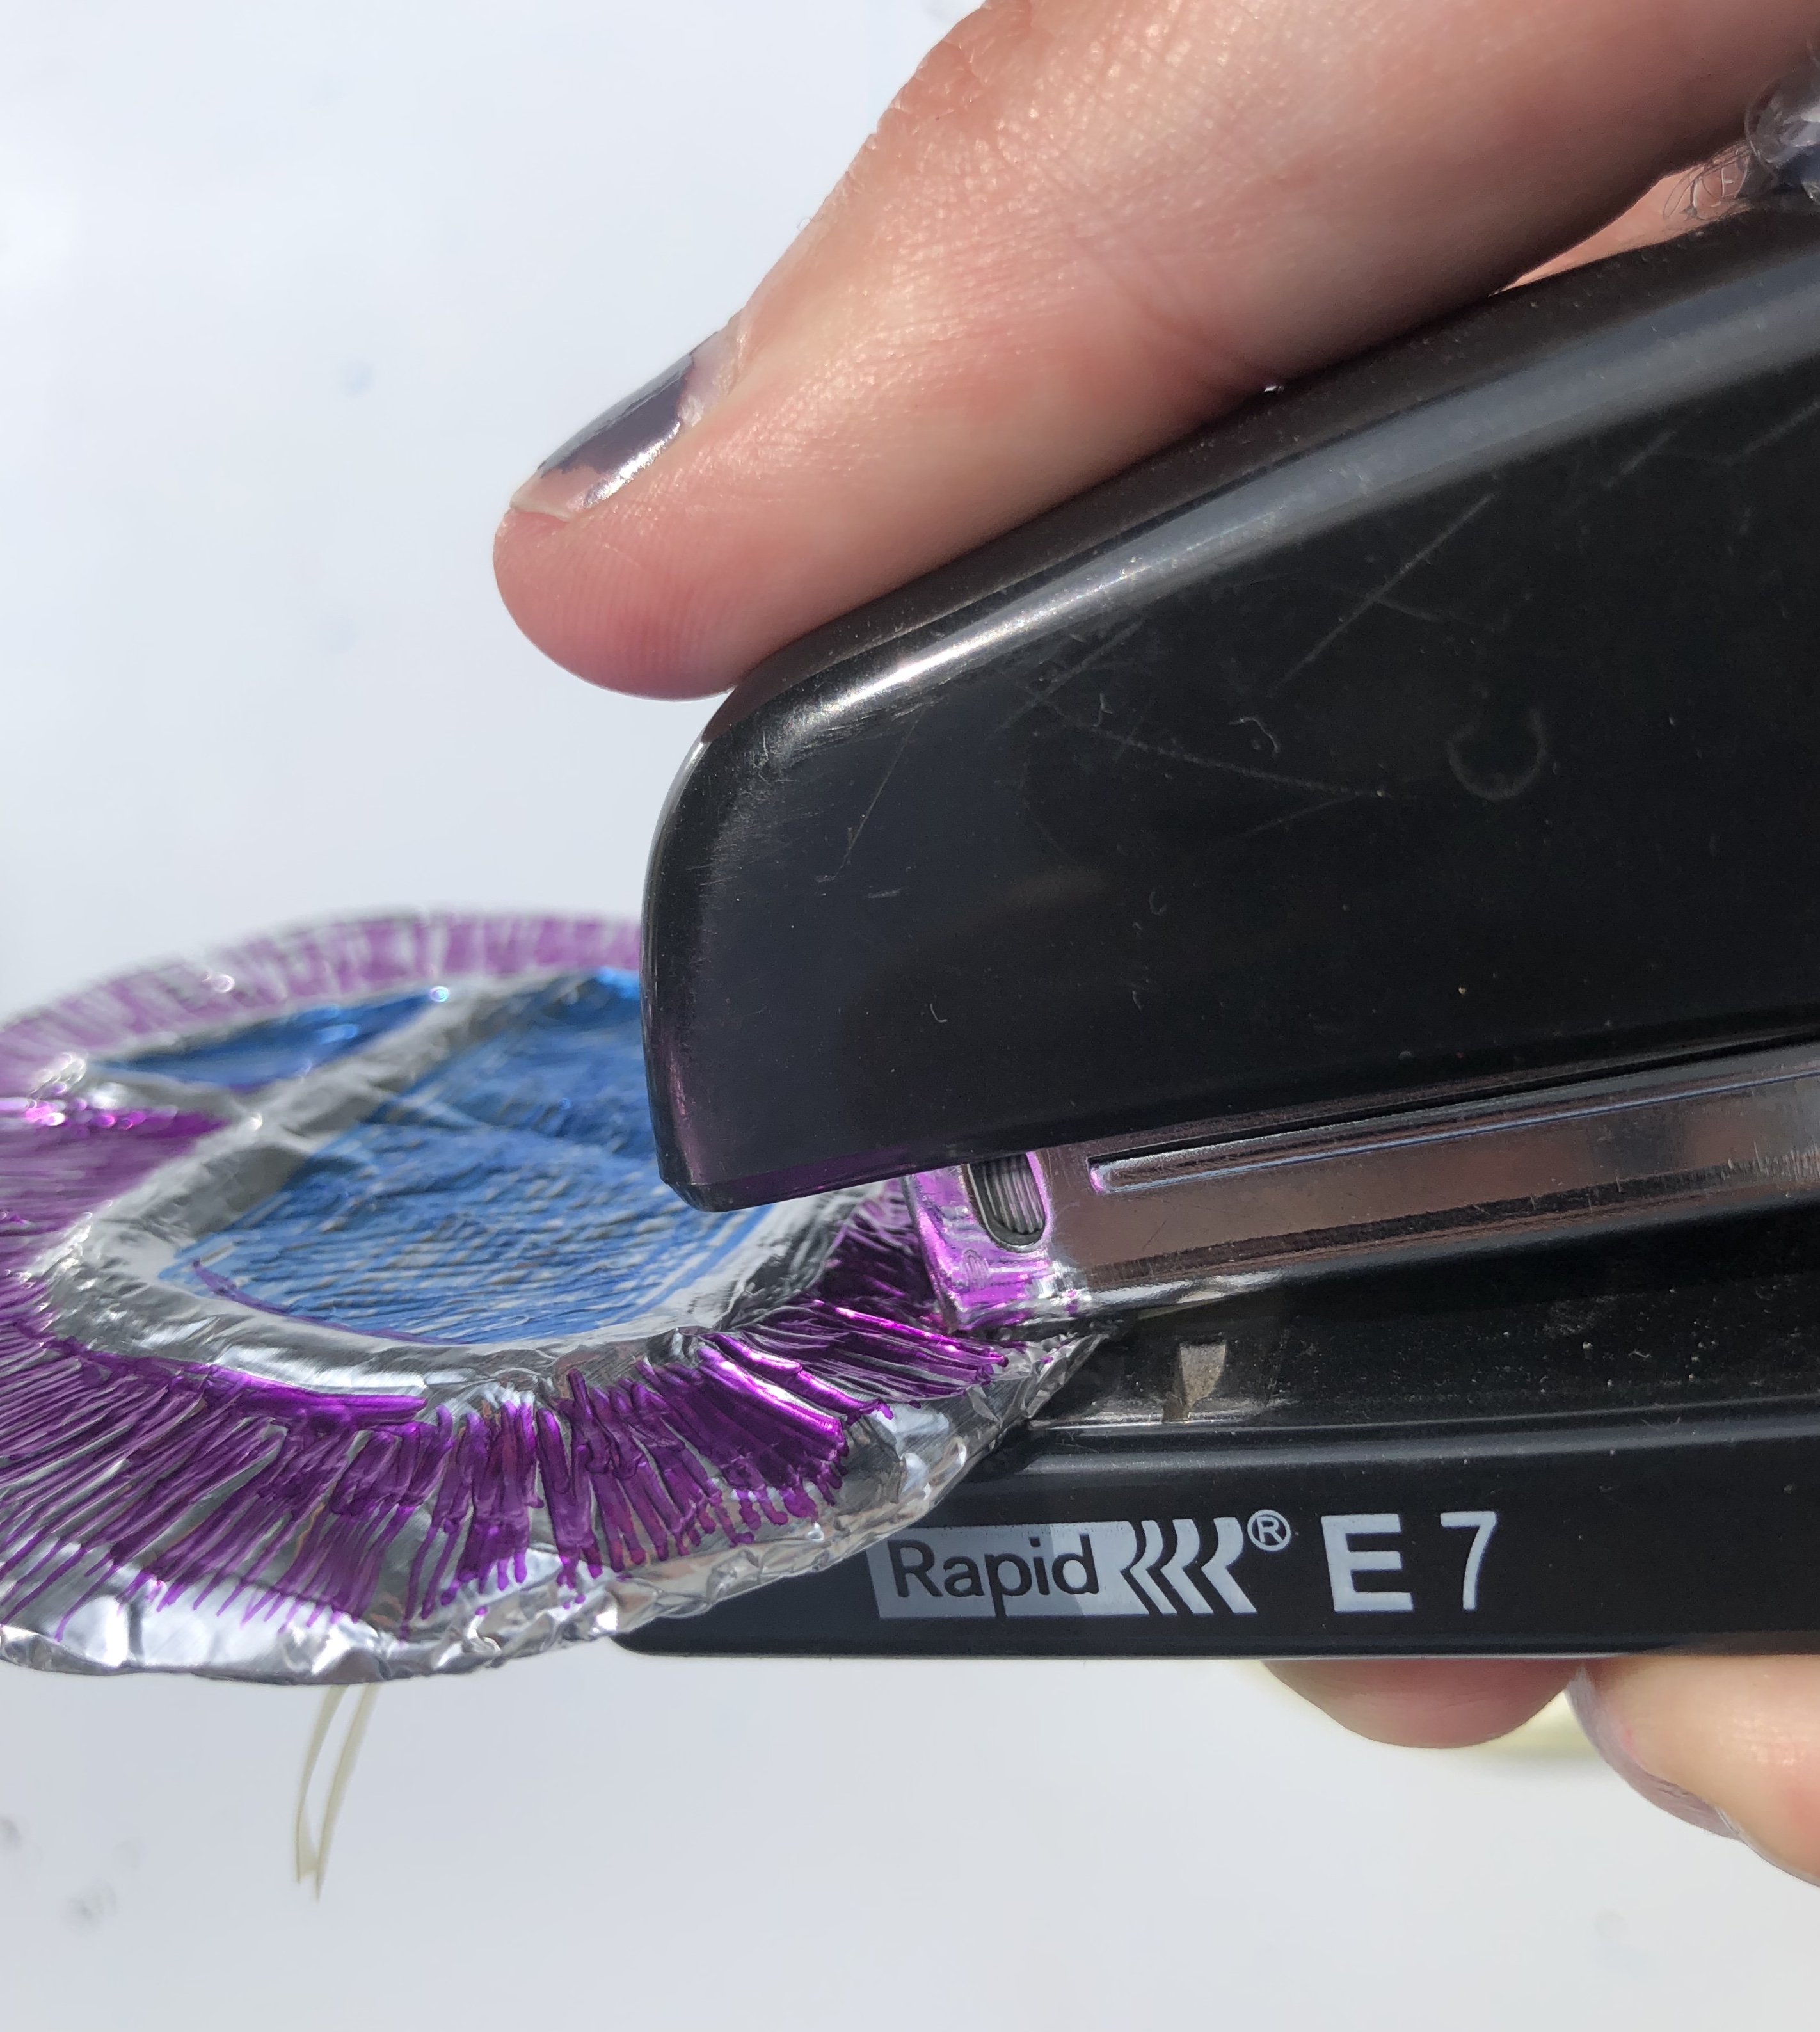
STEP 7
Tape, staple or use a hole punch and wire to attach the ribbon to your medal.
And you’re finished! Now you can let everyone know you completed Richland Library’s Summer Learning Challenge! Snap a photo and share on social media using #ilearnbecause.
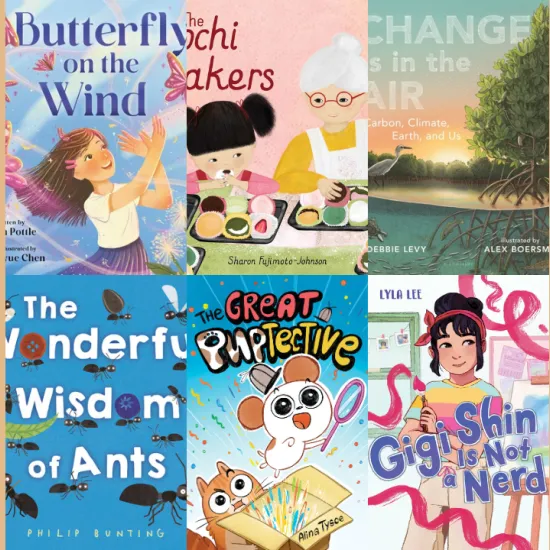
Like creating stuff? Find more great Summer Learning Challenge activities for all ages, here.