With the weather getting colder, try a frost tunnel to protect your garden!
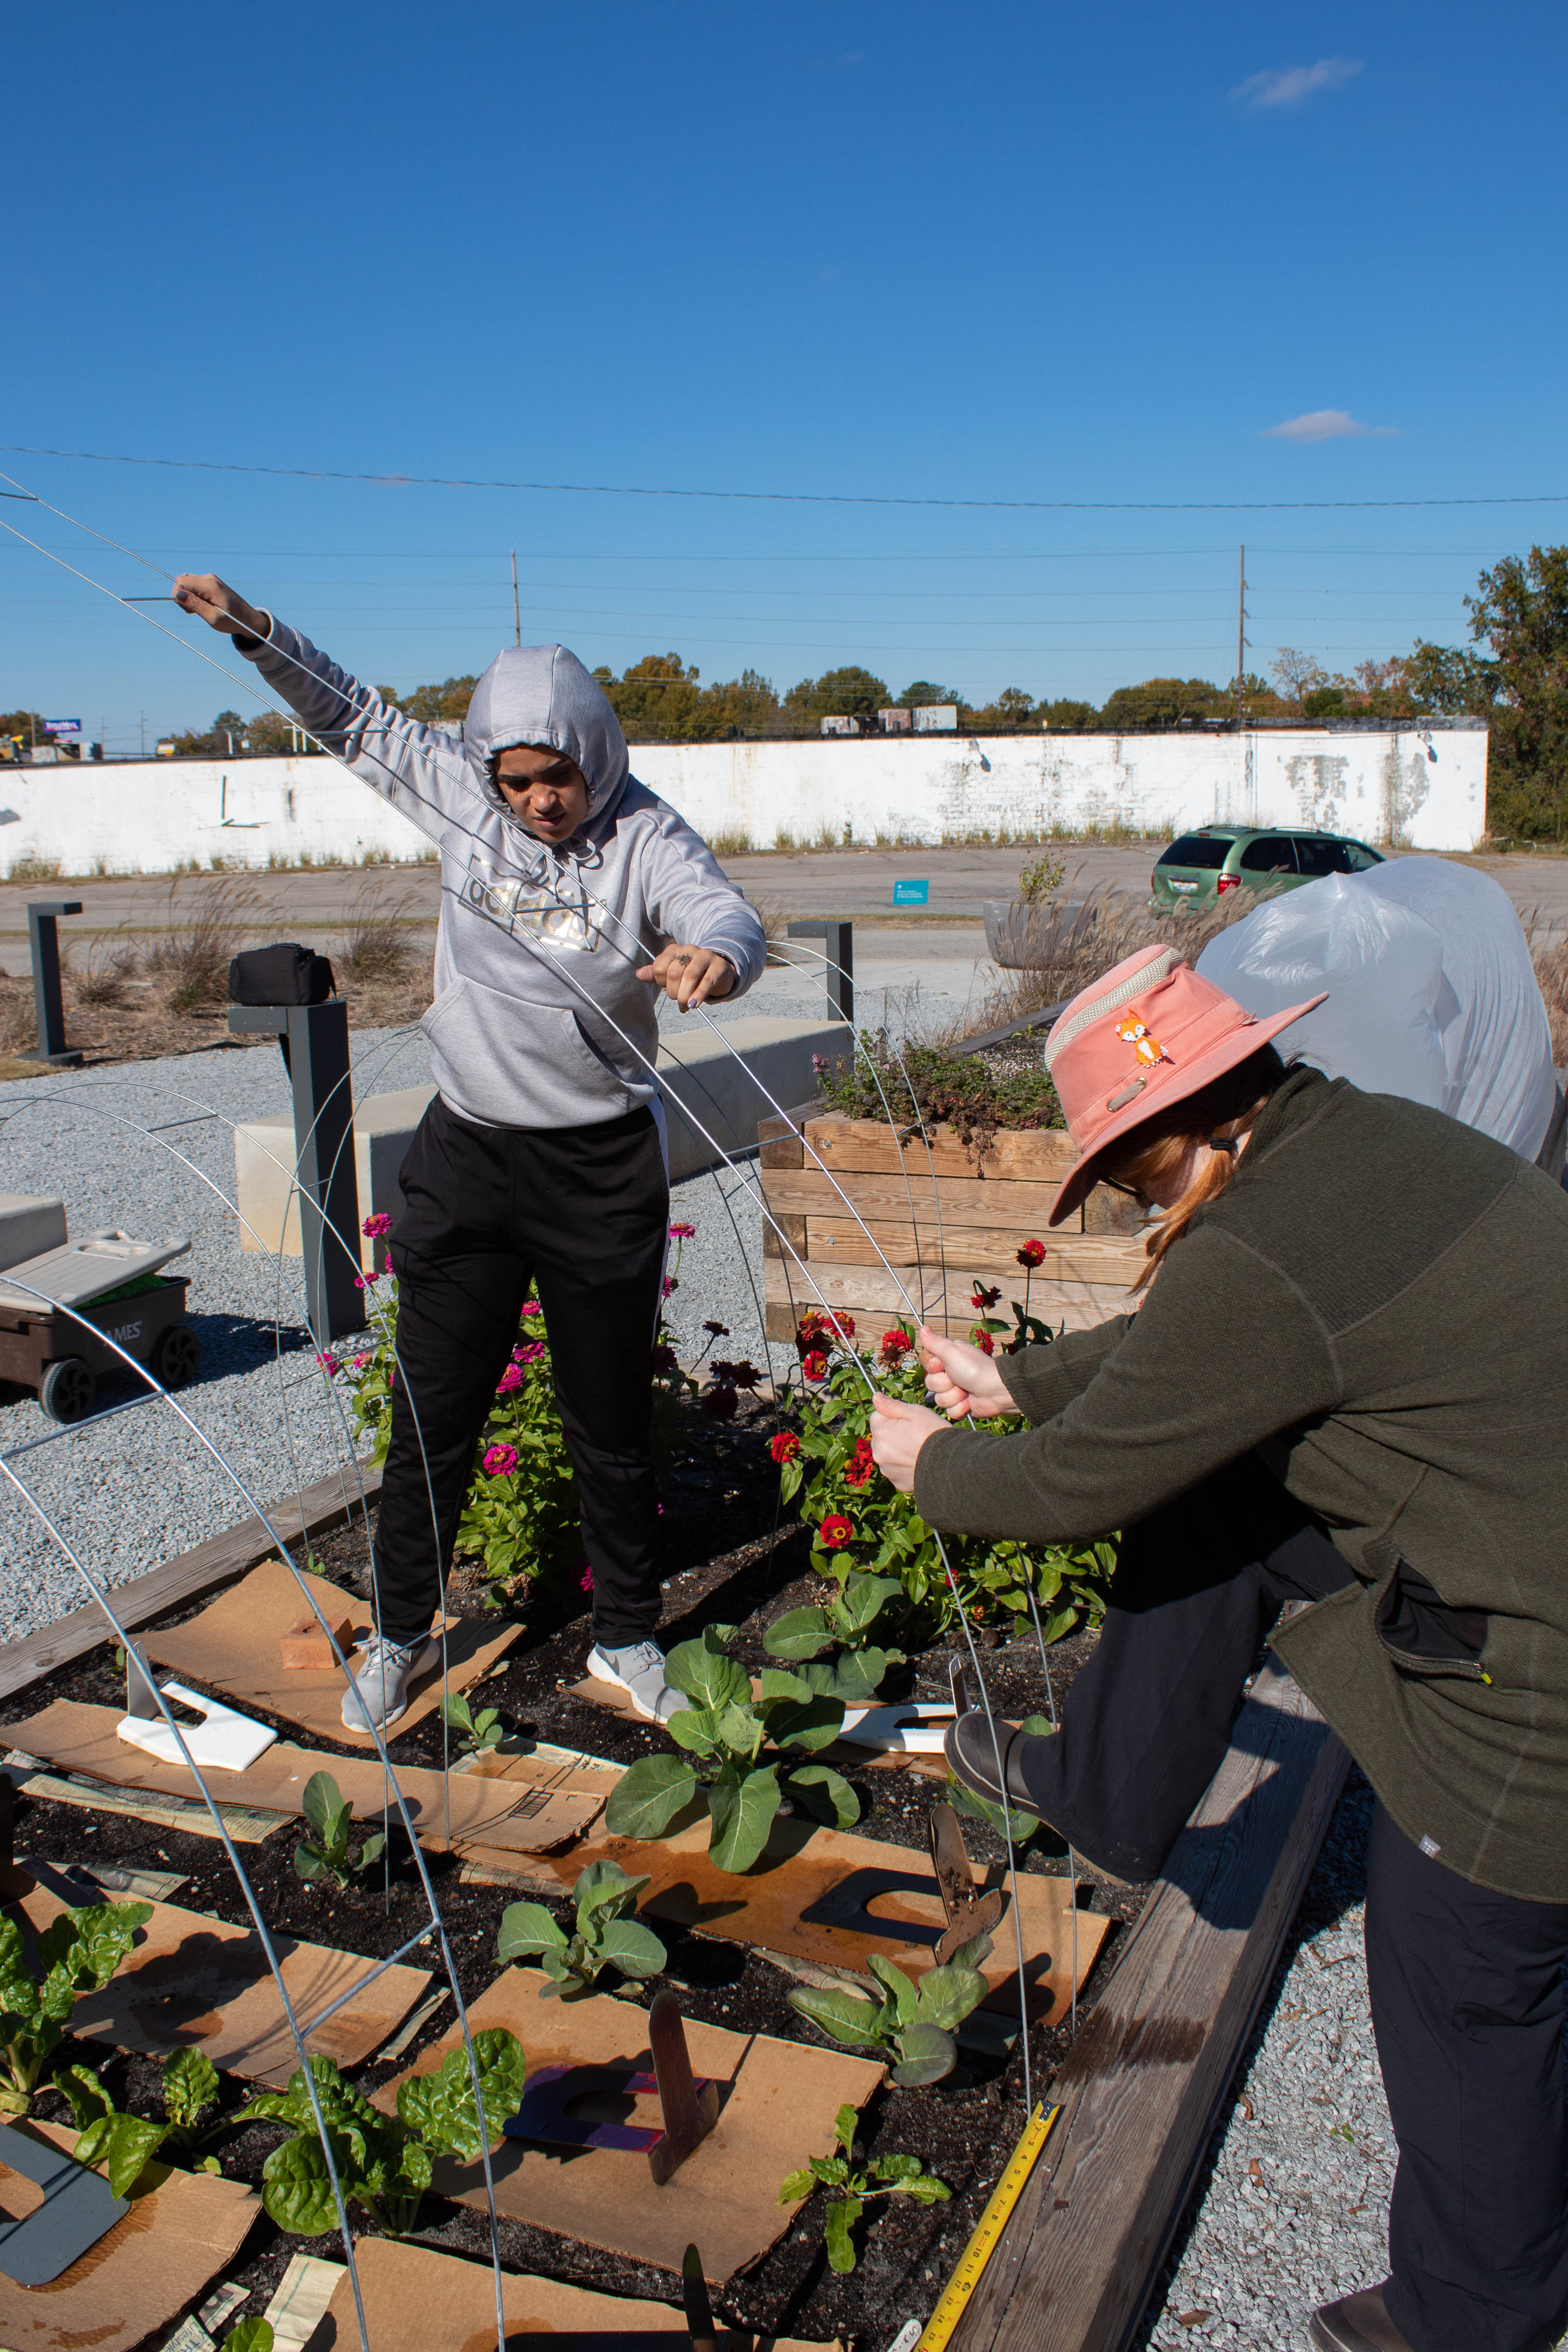 Step 1: Position mesh ladder in equal increments.
The purpose of the tunnel is to create that insulating cushion of air. The mesh ladder will provide the tunnel’s “skeleton” to keep the garden fabric off the plants. If any portion of the plant touches the cover, it will freeze.
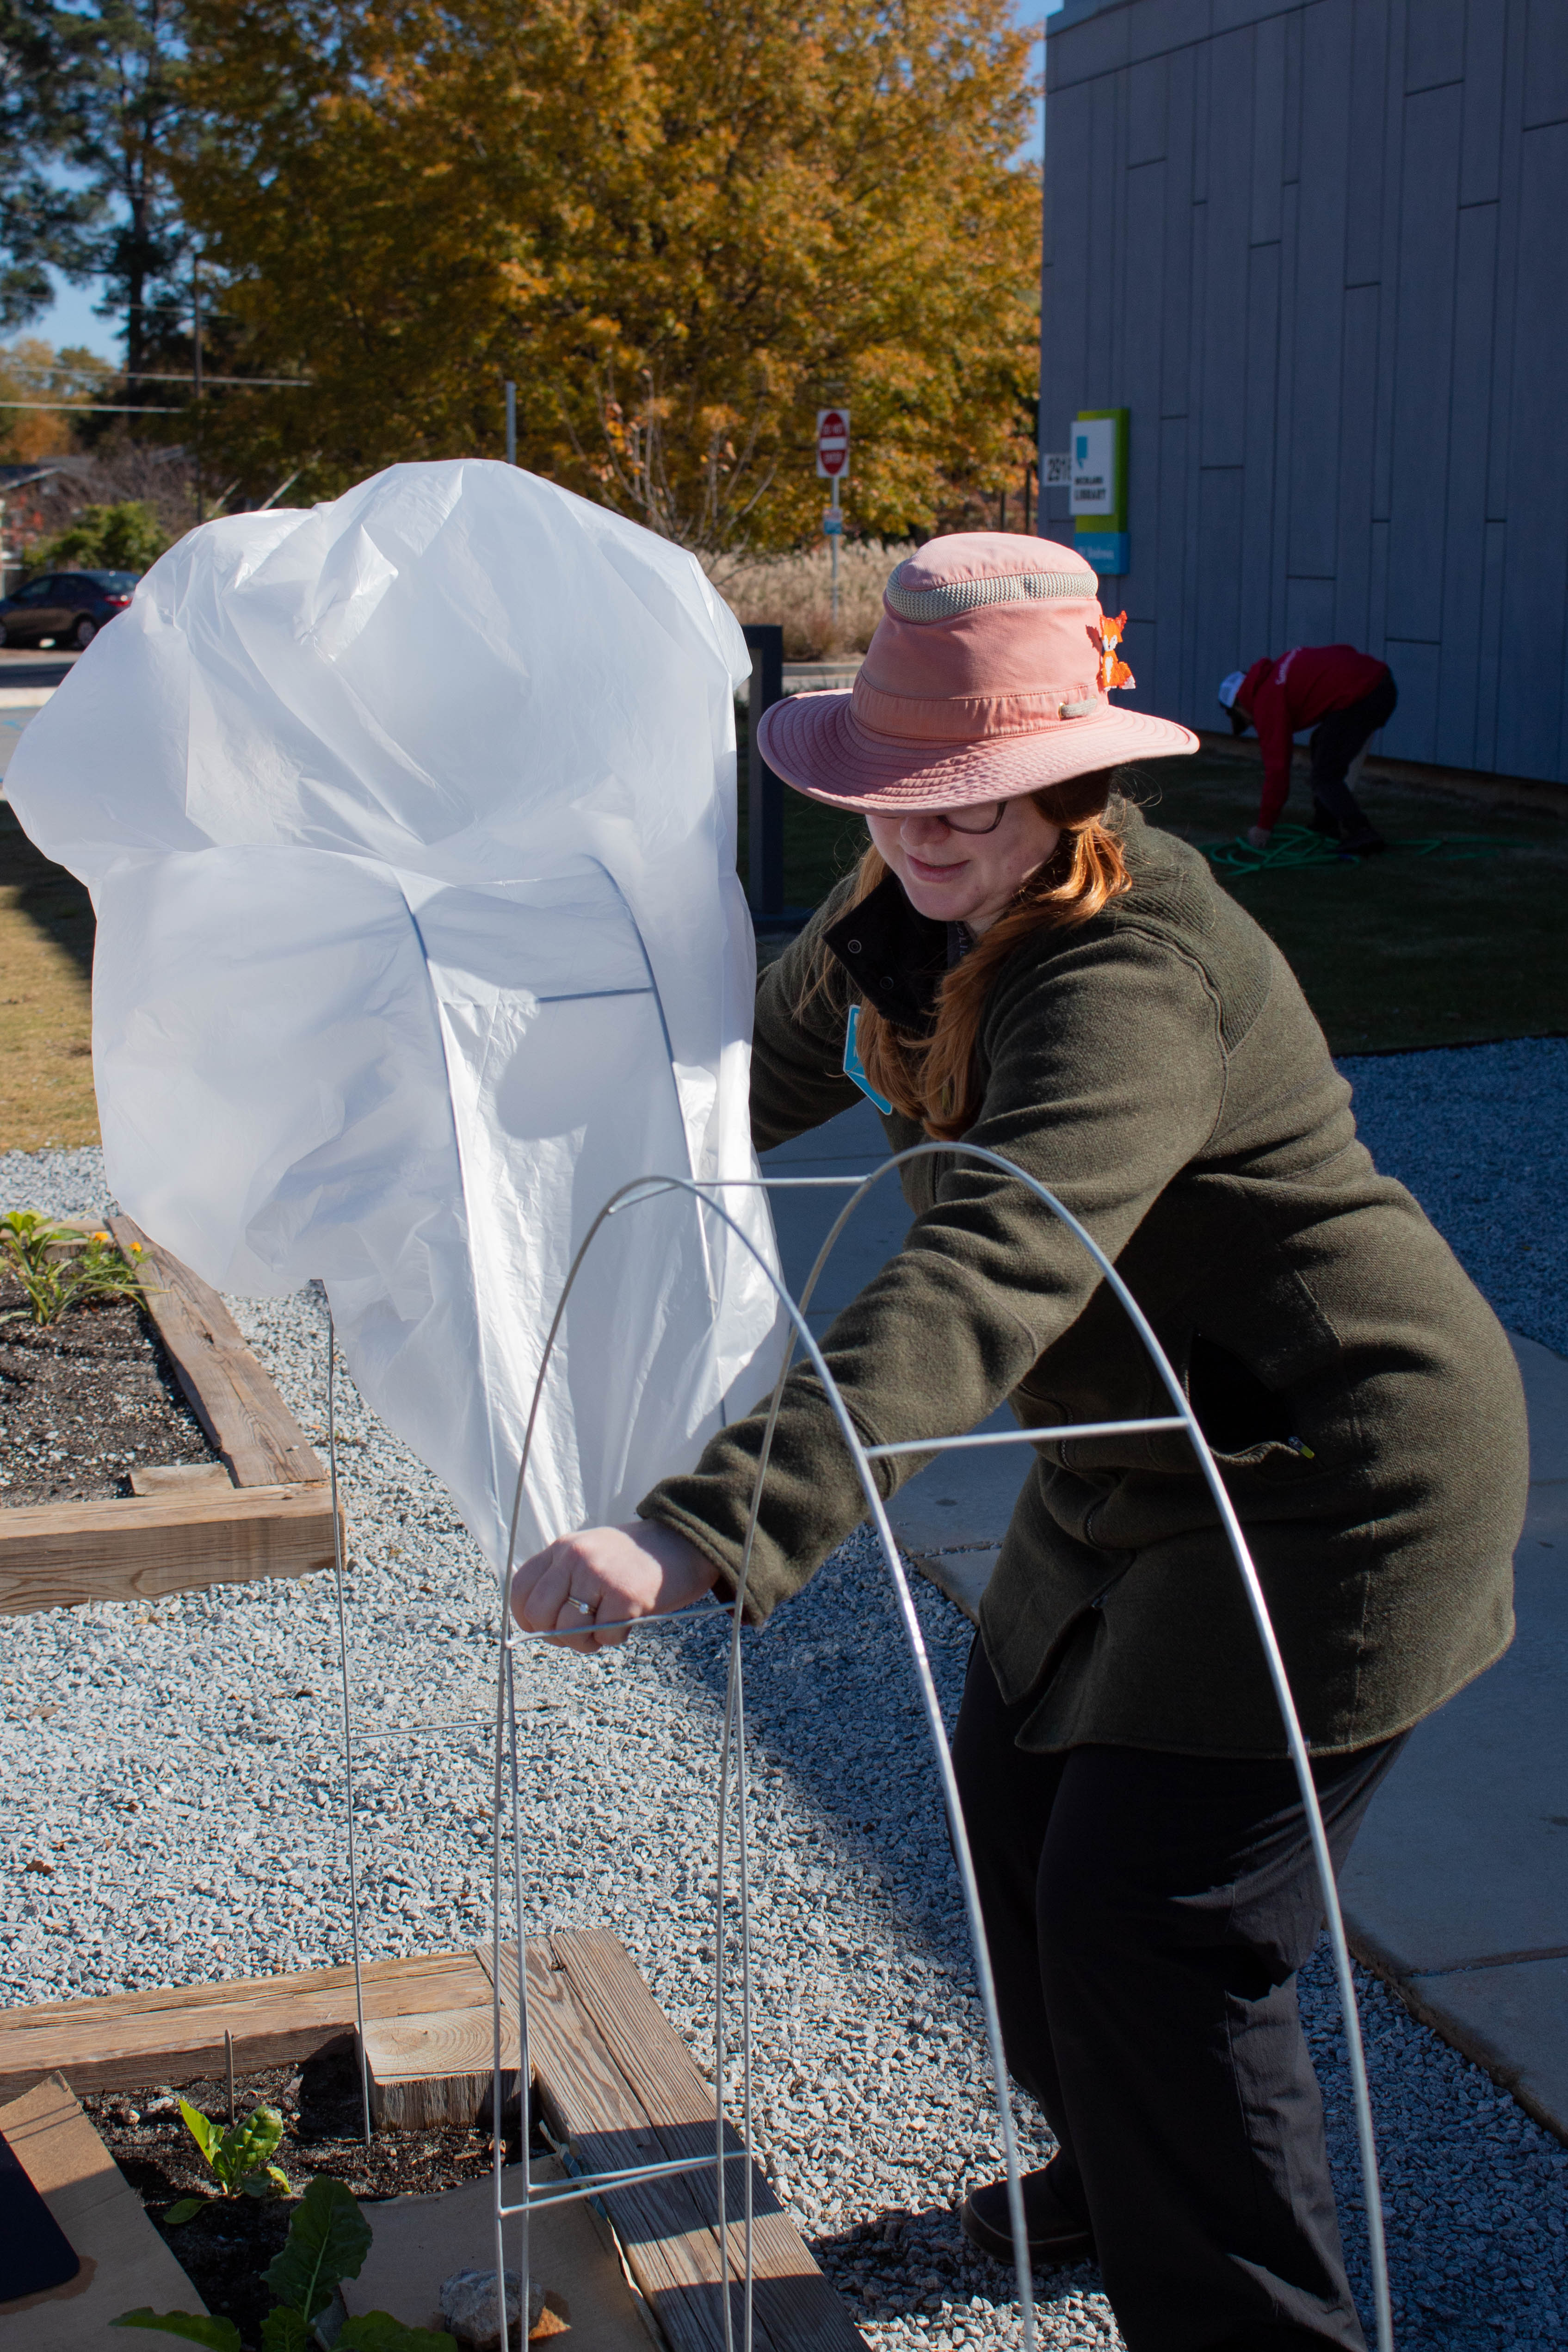 Step 2: Cover the ends with trash bags.
Okay, okay, you don’t need to use trash bags. Longer fabric could definitely make them unnecessary. We used trash bags because it was our quick, cheap solution to cover the ends of our tunnels. If you can think of a better way to accomplish this, let us know!
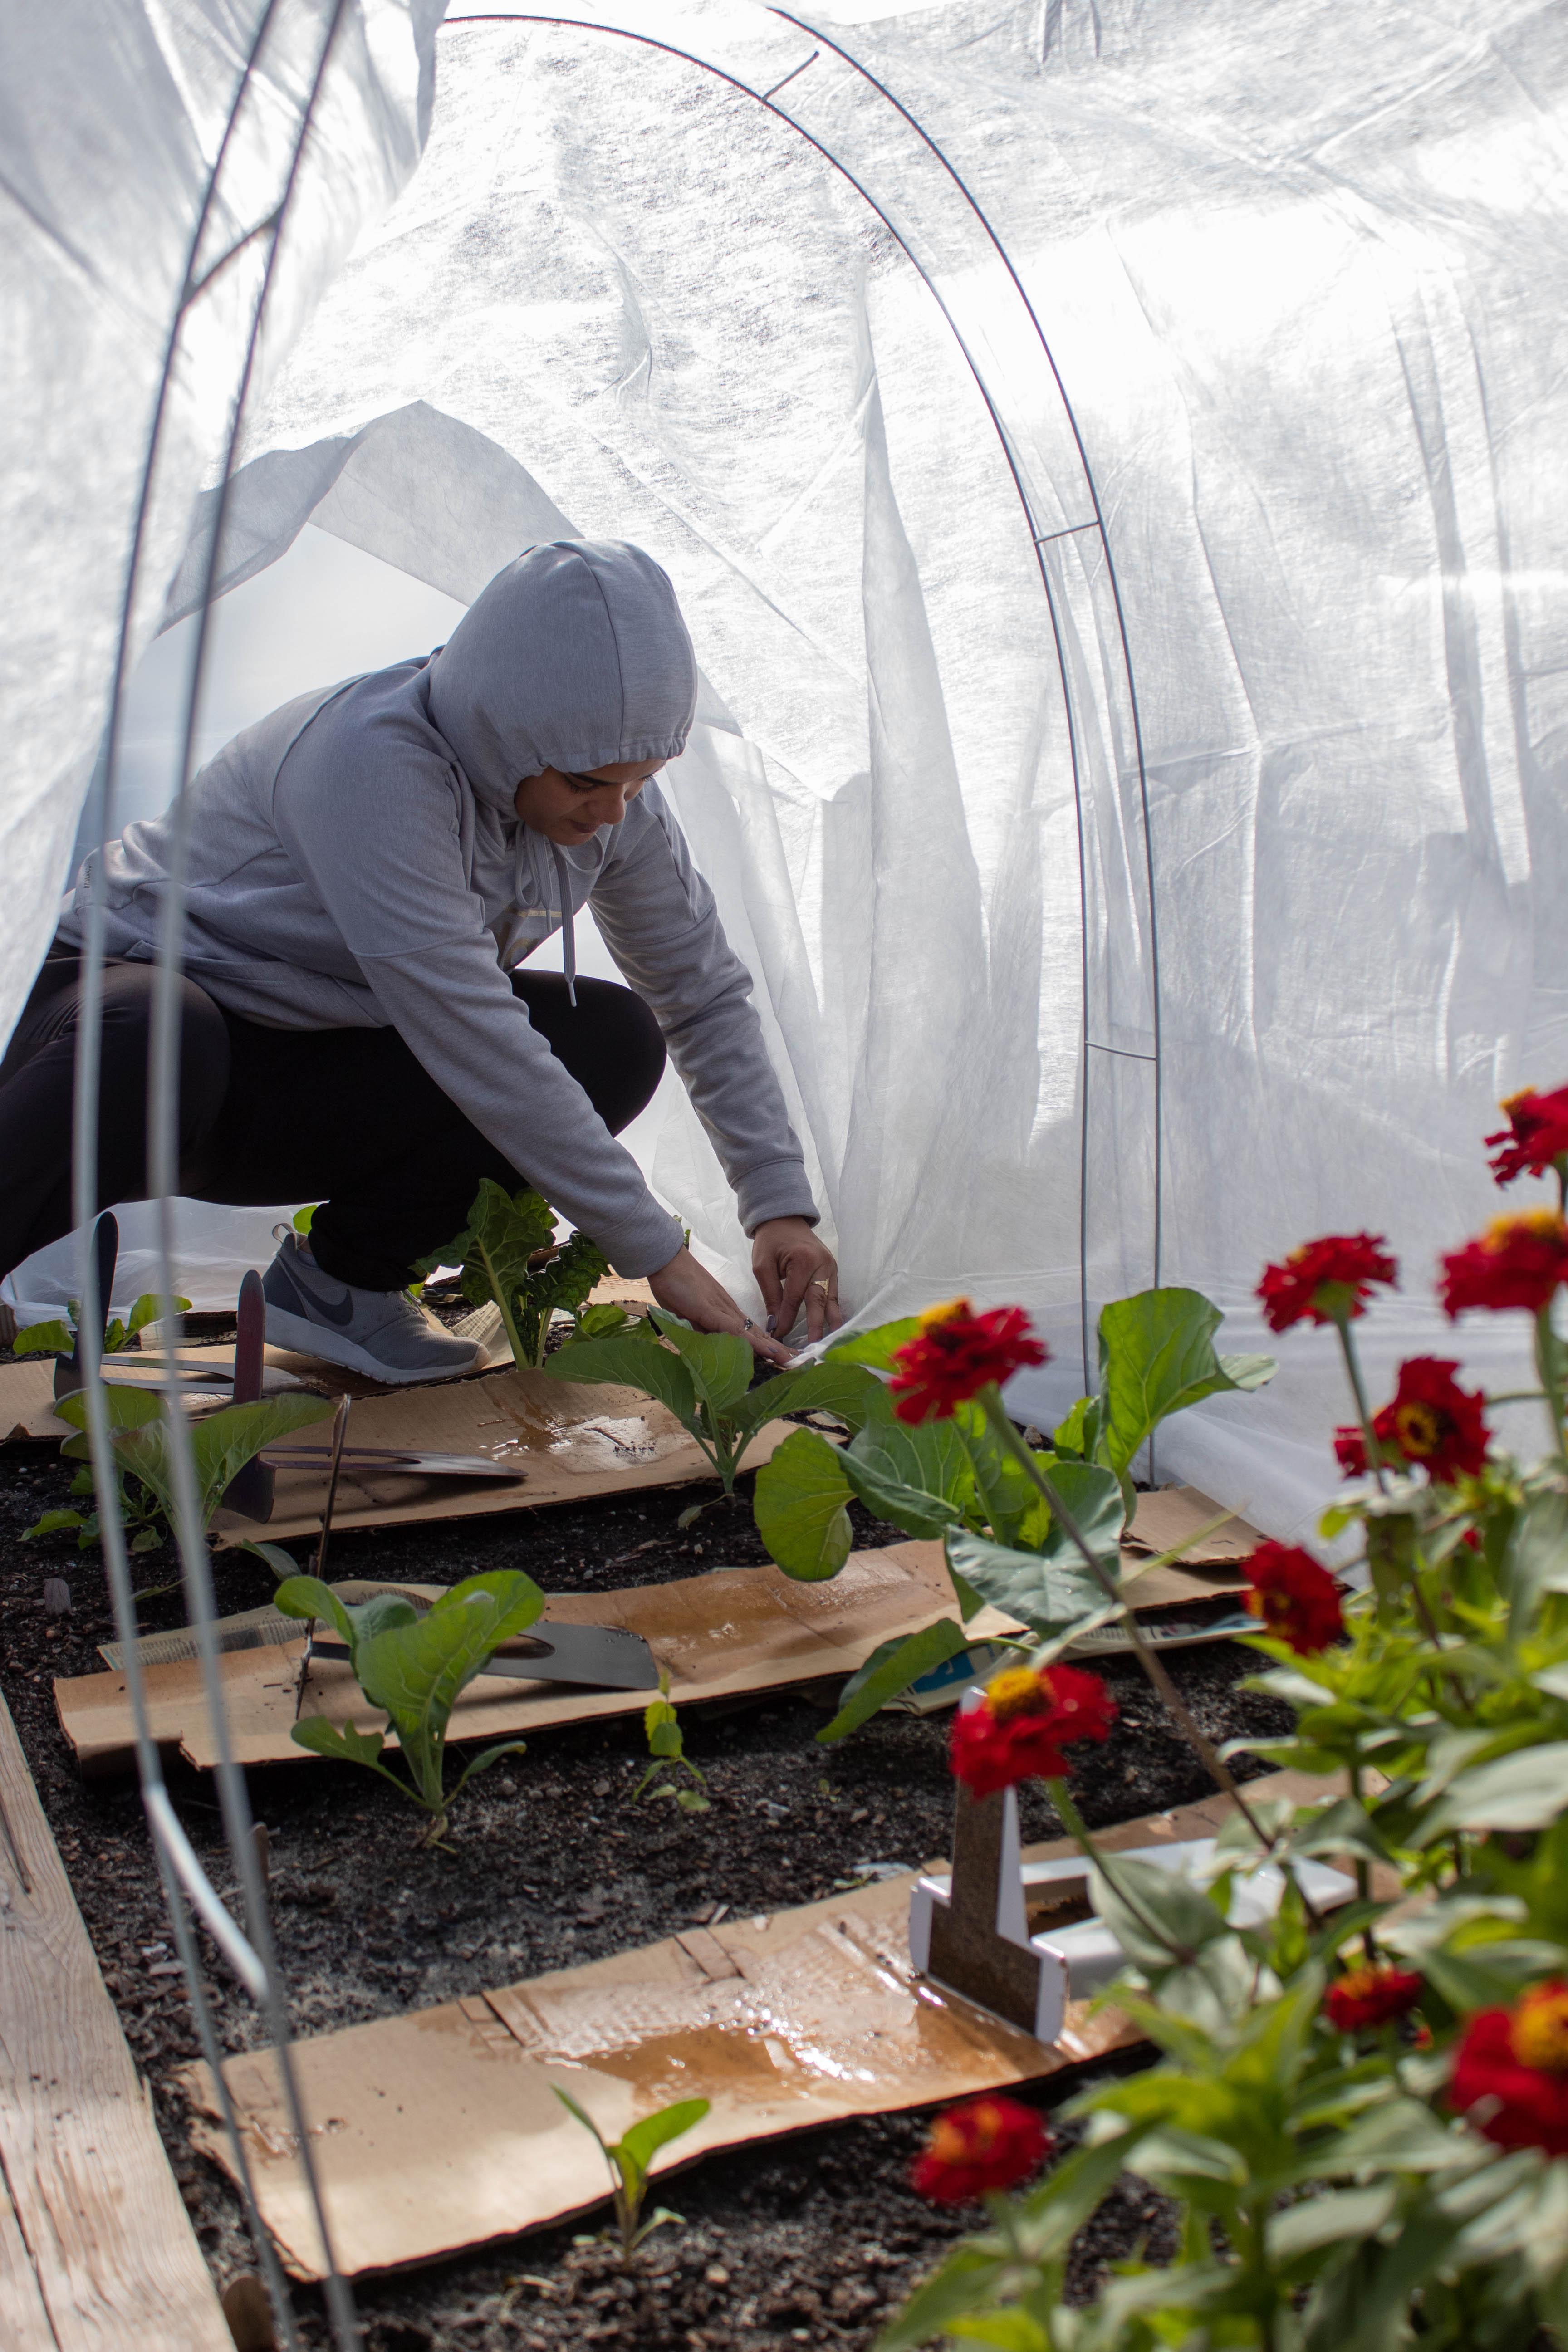
 Step 3: Lay the garden fabric over the frame and attach.
Spoiler alert: DO NOT use staples. We used staples when we attached ours. The next morning, two of the tunnels were completely uncovered. Staples are just not strong enough to withstand higher winds. We now use zip ties to attach the cover to the frame. You’ll have to poke holes through your cover, but it’s worth it.
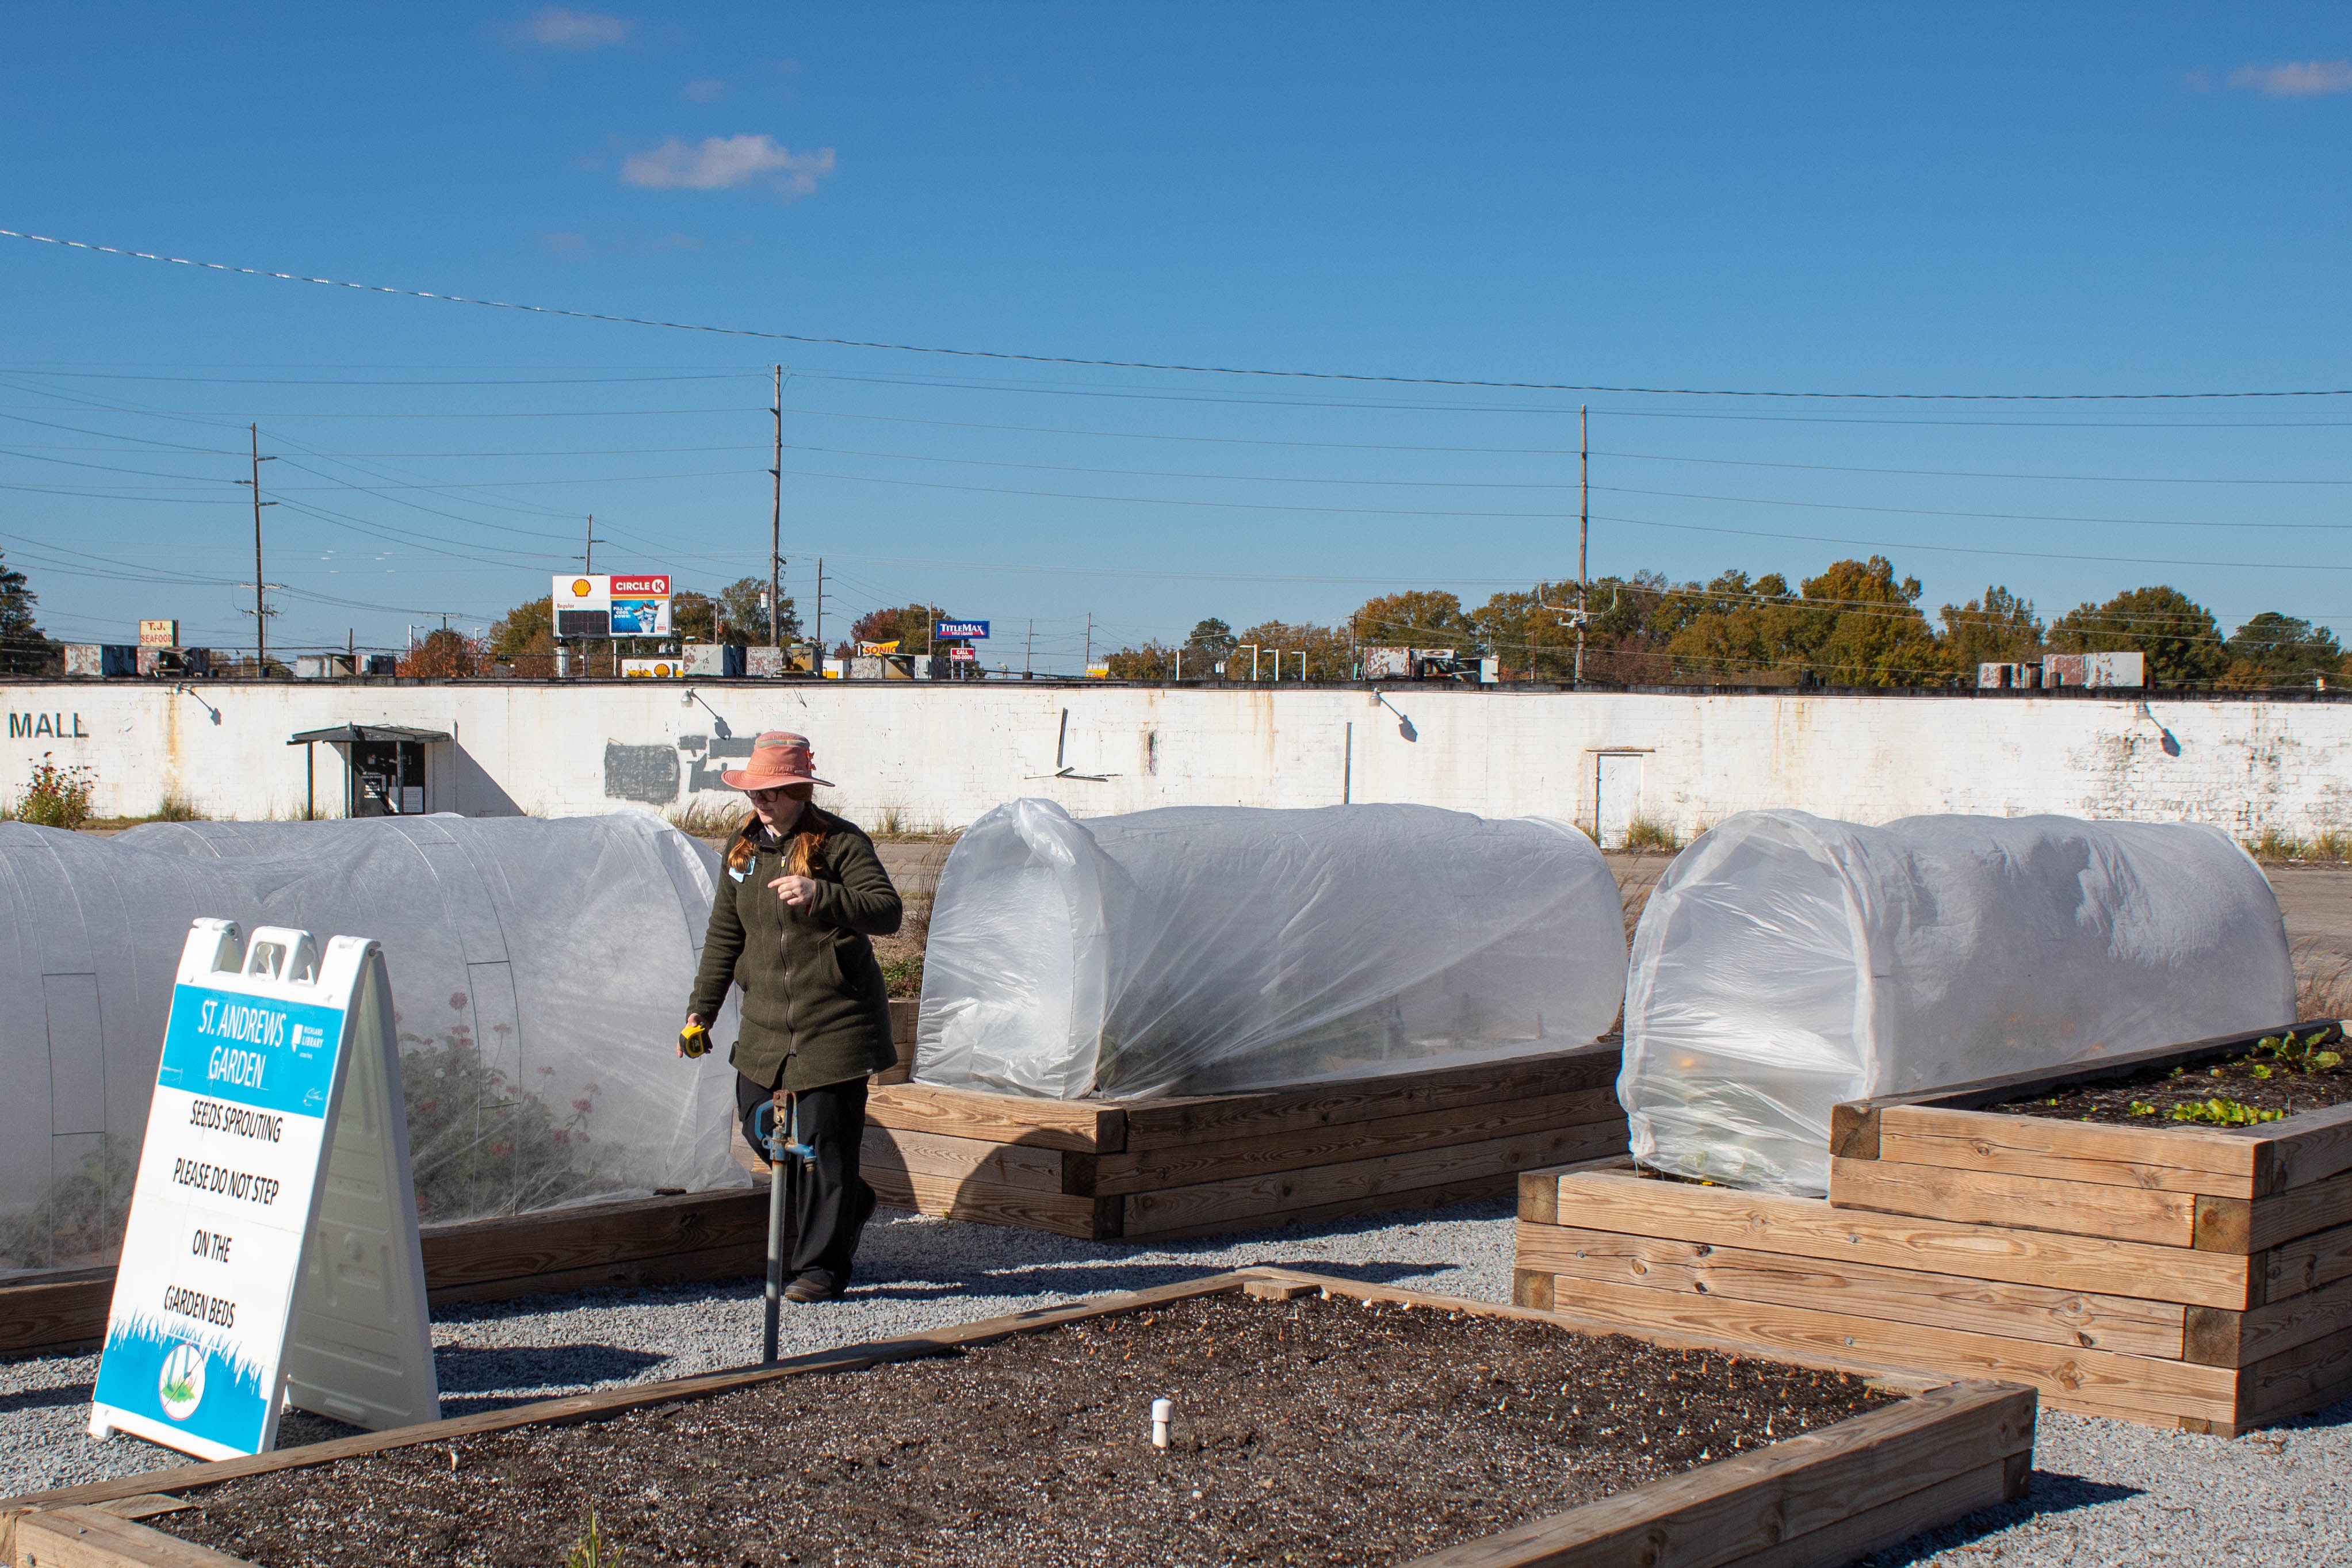
 Step 4: Secure the ends of the garden fabric to the ground with stakes or tines.
The whole point of the frost tunnel is the captured warm air. If the cover blows off, then that advantage is gone with the wind.
With this protection, our garden survived the couple of horrid nights in the 20°s we’ve had so far. It’s satisfying to see the frost sparkling on the outside knowing that the little green things inside are toasty. Other ways to add insulation to your plants are to keep them watered, because water takes more energy to freeze than dry dirt, and mulching to provide a layer of root protection. Let us know how these tricks work for you or if you have any questions!
Contact Lindsey T. at ltaunton@richlandlibrary.com.