- Richland Library
- Monday, November 29, 2021
Learn about the Iroquois Legend of the Corn Husk Doll while completing this simple activity to remember our shared past and keep traditions alive.
MAKING EDUCATION FUN
Corn husk dolls originated before the pilgrims came to America with the precolonial Northeastern Native Americans. These dolls were used as toys for children and eventually became common amongst across the thirteen colonies.
Iroquois Legend of the Corn Husk Doll
The corn husk dolls created by the Iroquois are traditionally made without faces. Legend has it that the first corn husk doll was hand-made by the Corn Spirit as a playmate for the Iroquois children and was very beautiful. At first, the corn husk doll and Iroquois children were the best of friends, but then the doll saw its own reflection. Realizing its beauty, the corn husk doll started to treat the children as if they were beneath it. The Corn Spirit warned the corn husk doll to change its ways, but the doll continued to treat others poorly. As punishment the Corn Spirit took away the corn husk doll’s beautiful features, including its face. From that day on, all corn husk dolls were created with no face as a reminder that no one is better than anyone else.
MATERIALS NEEDED
- 6-10 Corn Husks
- String
- Scissors
- Markers (optional)
- Beads (optional)
- Yarn (optional)
INSTRUCTIONS
1. To prevent your husks from tearing, soften them by presoaking them in warm water for a couple of minutes. Afterwards, place them on a towel and dap away the excess moisture.
2. Gather 7-8 husks for a larger doll or 4-6 husks for a smaller doll. Place husks on top of each other, keeping the narrow ends of the husks together. Leave two additional husks off to the side to use for the arms later.
3. Take the string and wrap it around the narrow end of the husks about 2 inches from the top several times before tying it in a knot. Make sure it is secure before moving on.

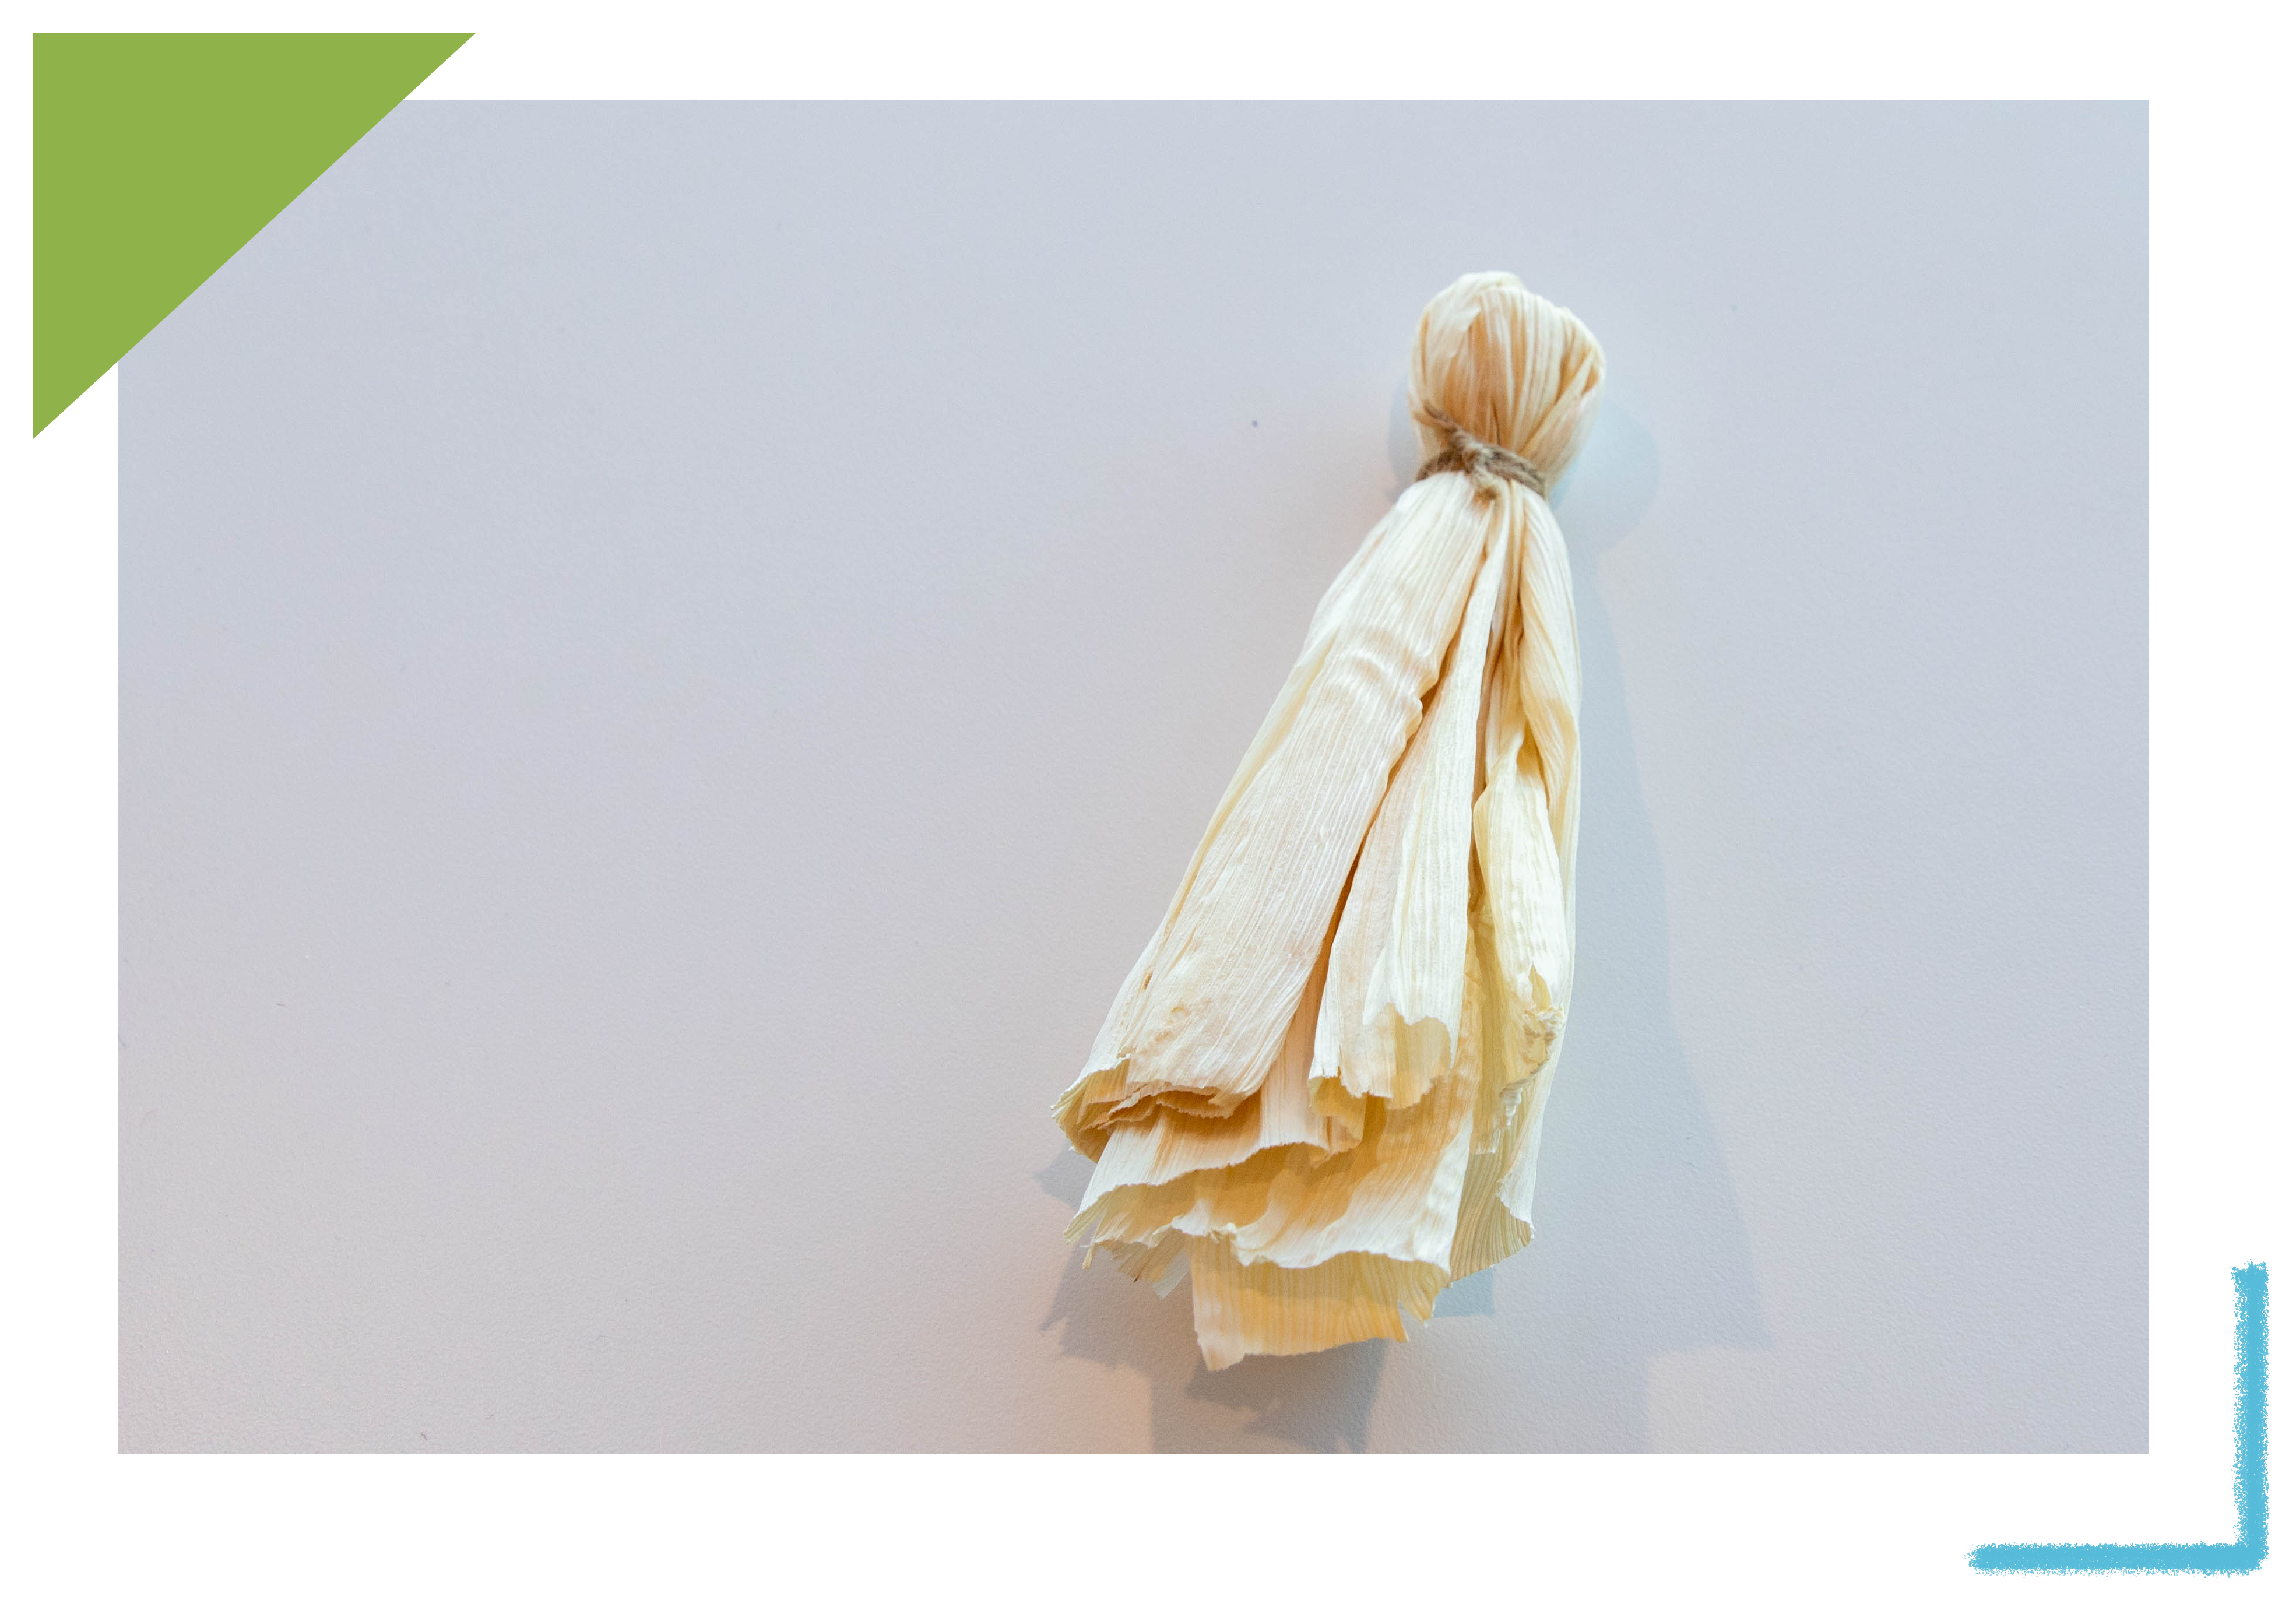
4. Flip the husks upside down so the tied end is at the bottom. Now ‘peel’ each husk down as if peeling a banana. At the end of this step, all husks should be peeled down.

5. Tie the husks together about an inch from the top. This will be the doll's head.

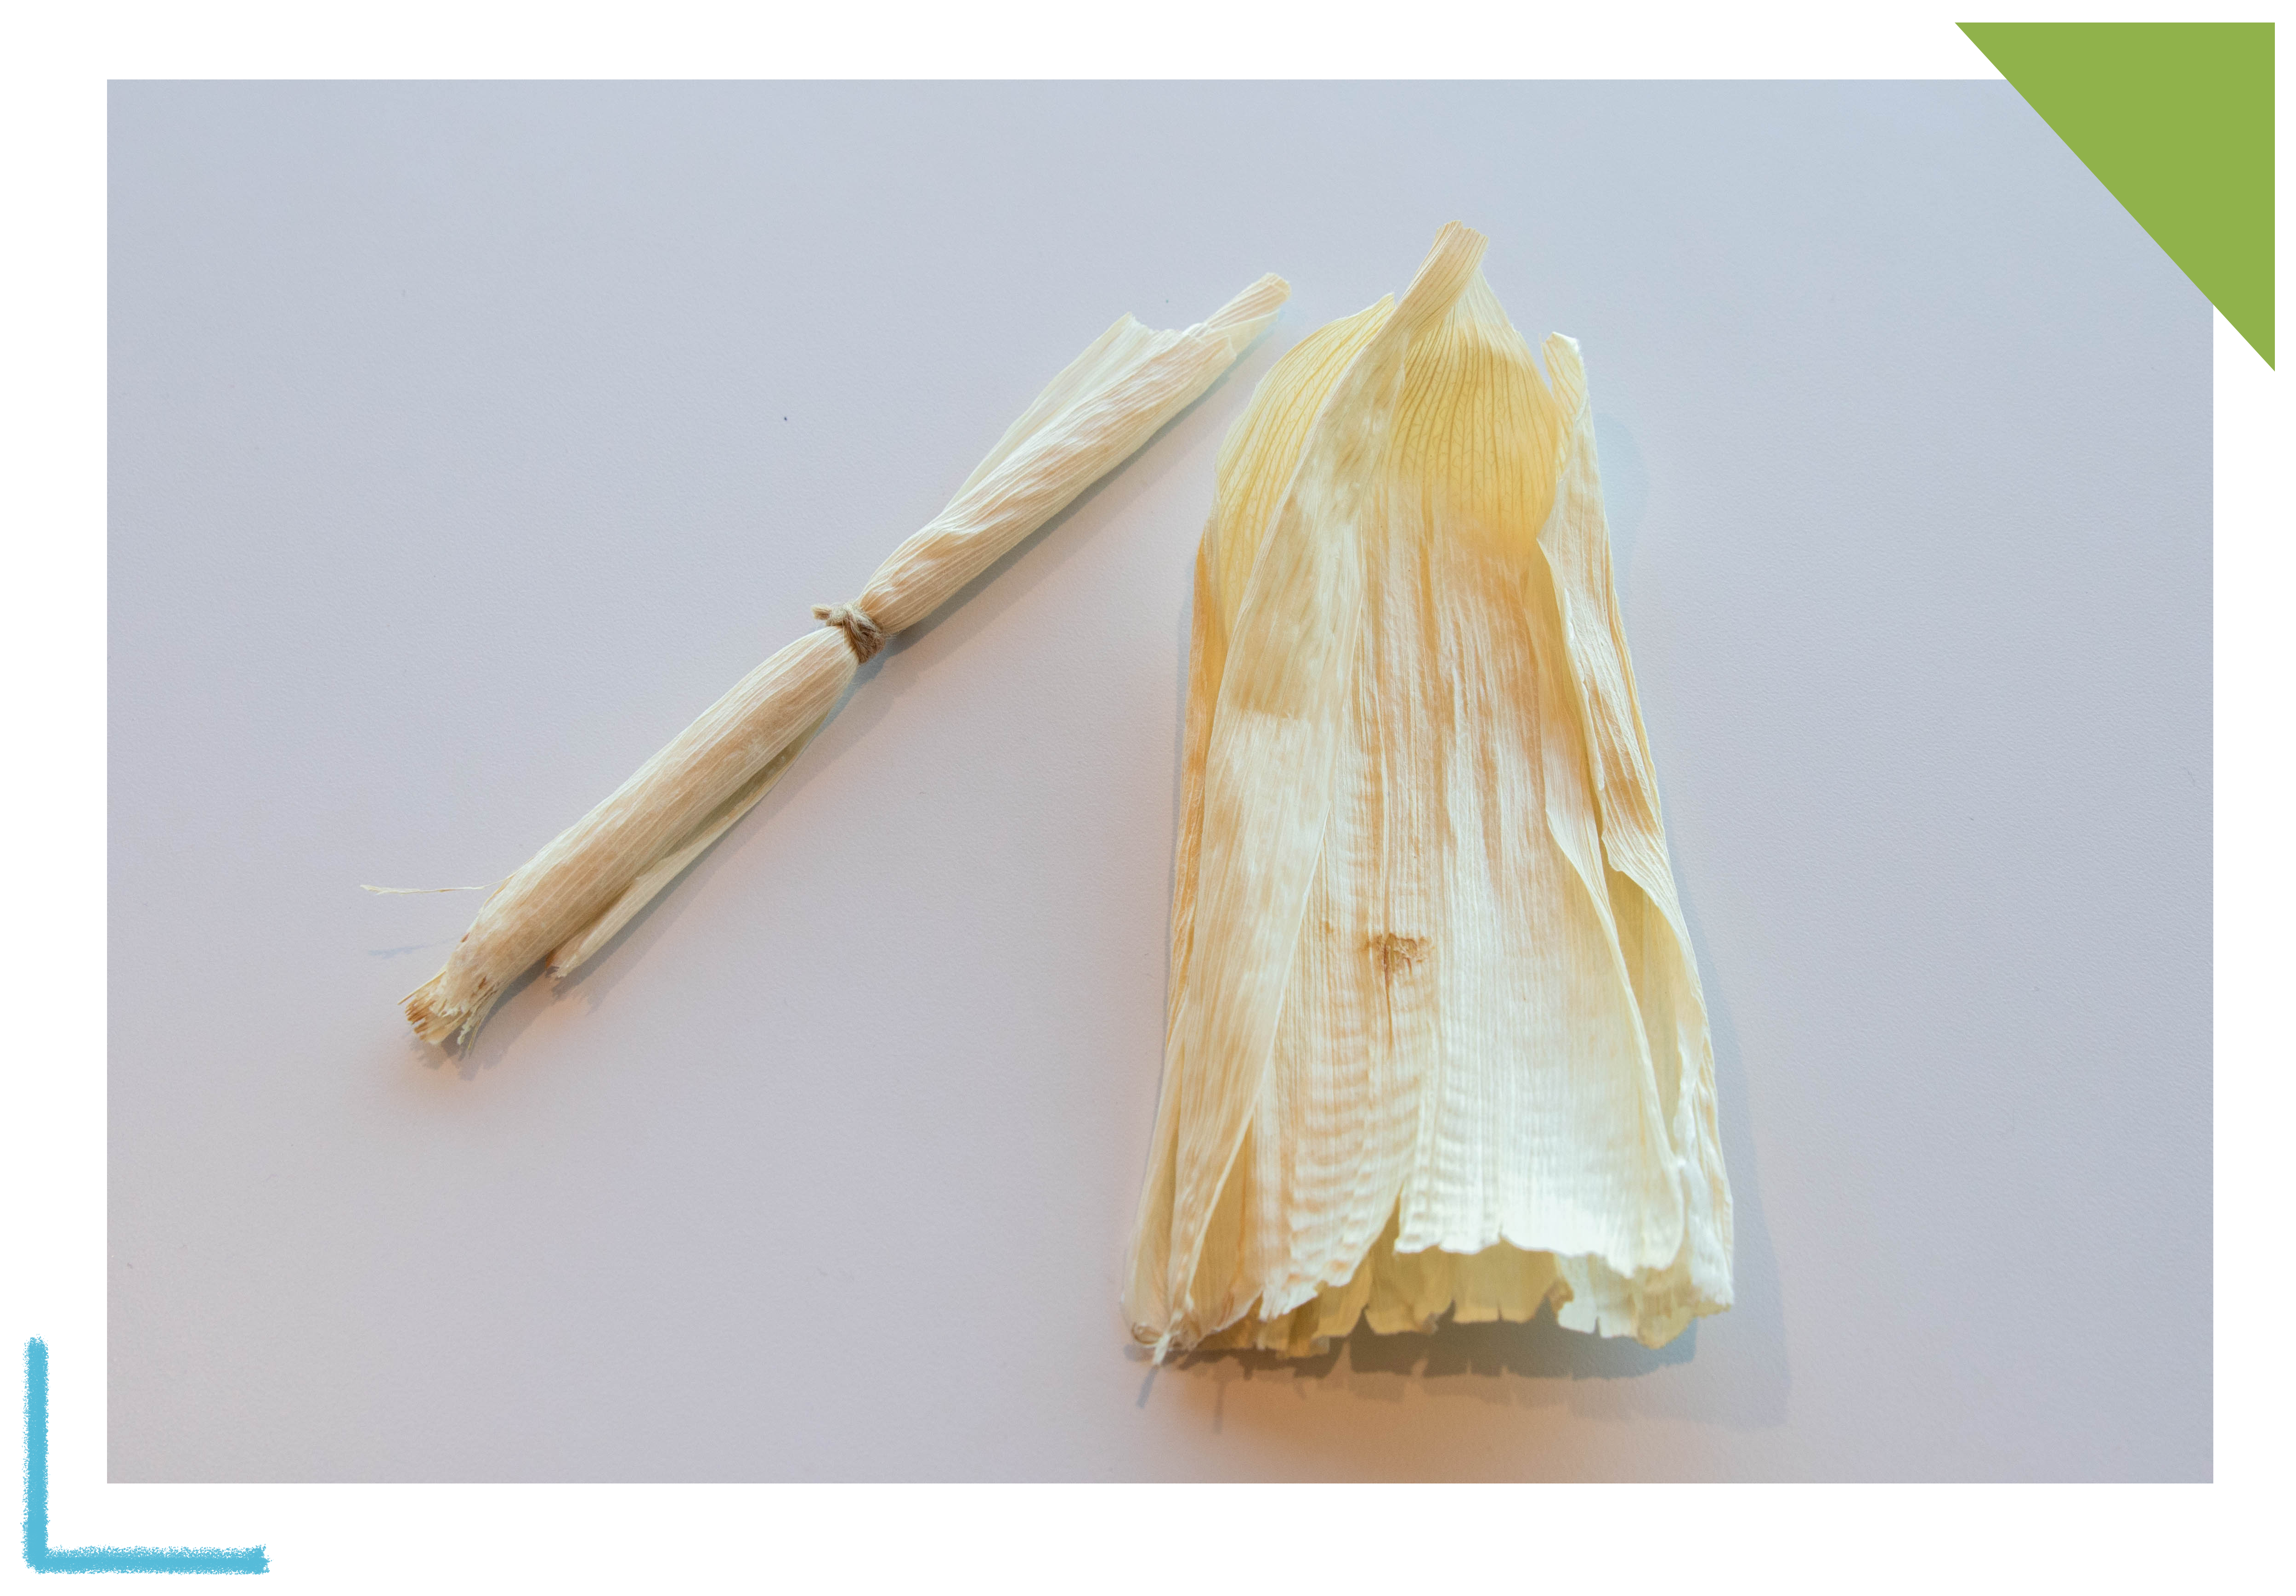
6. To make the arms, take the two husks you put aside earlier and lay them on top of each other with the narrow ends opposite each other. Narrower husks work best for this step. Roll the husks tightly together and tie the middle tight so that the husks are secure.

7. Lift half of the loose husks on the front of the doll and slide the arms behind them. There should be loose husks behind and in front of the arms now.

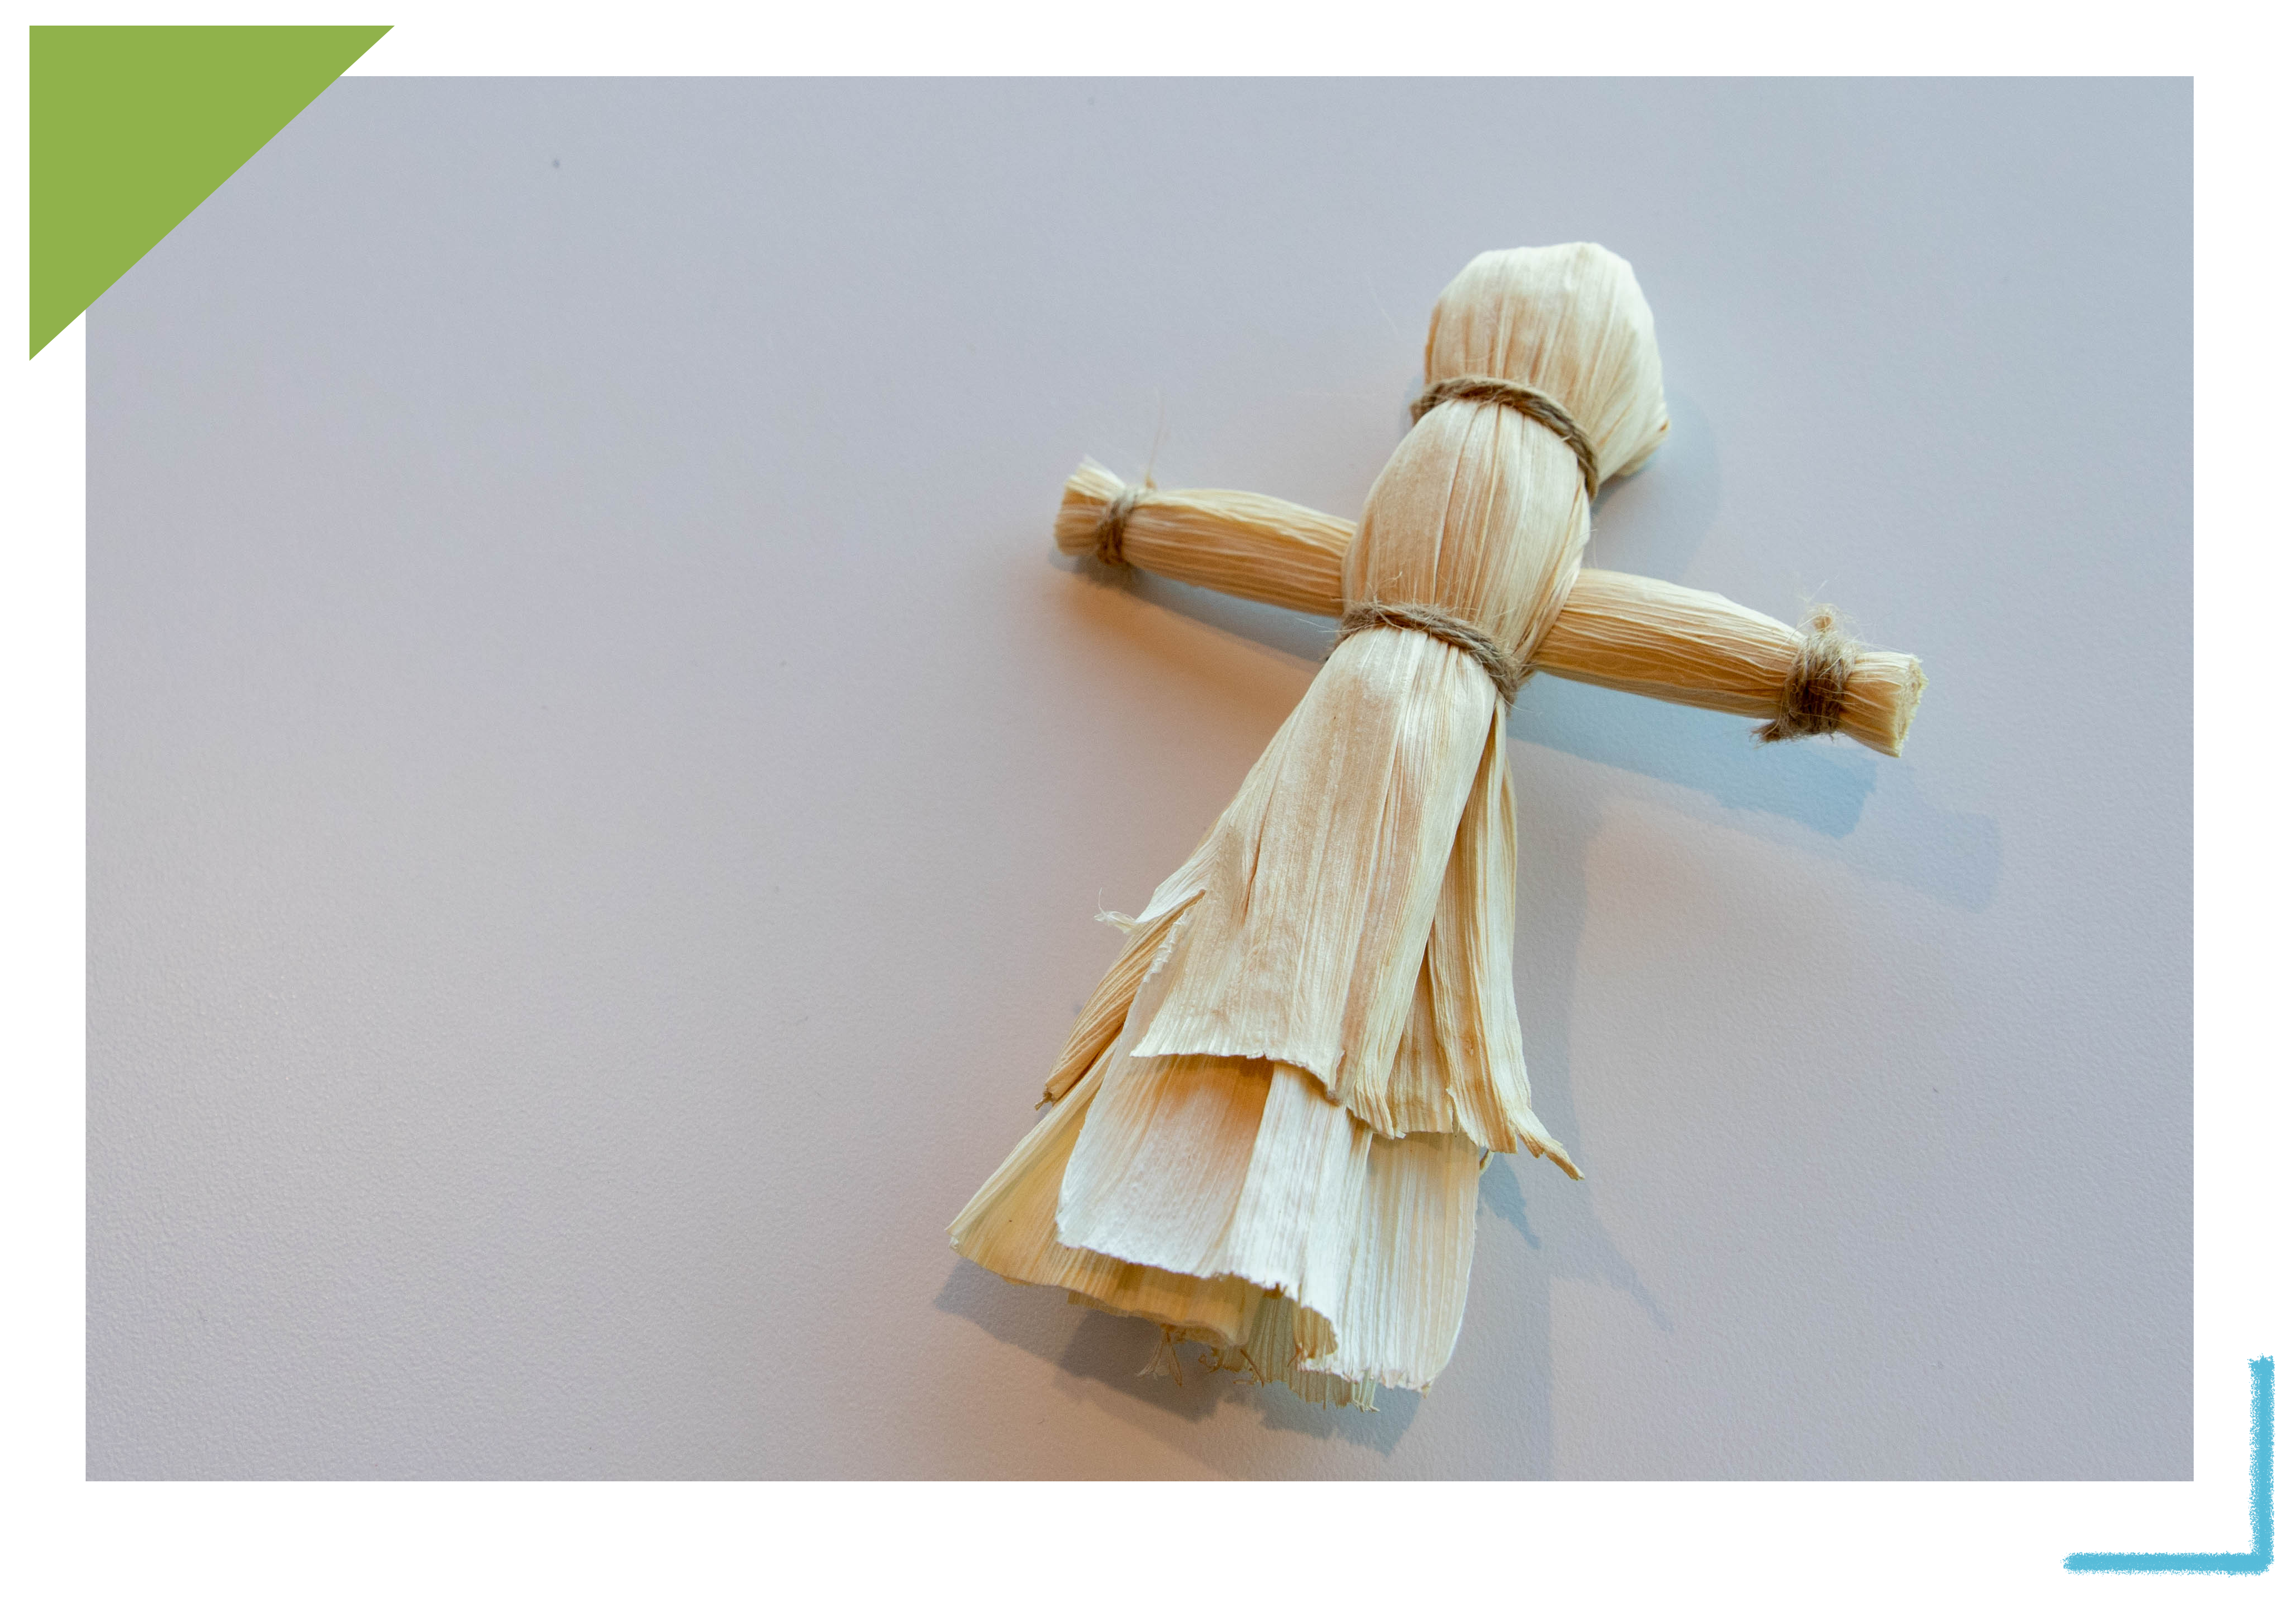
8. Tie another piece of string below the arms to keep the arms in place and make the body of the doll.

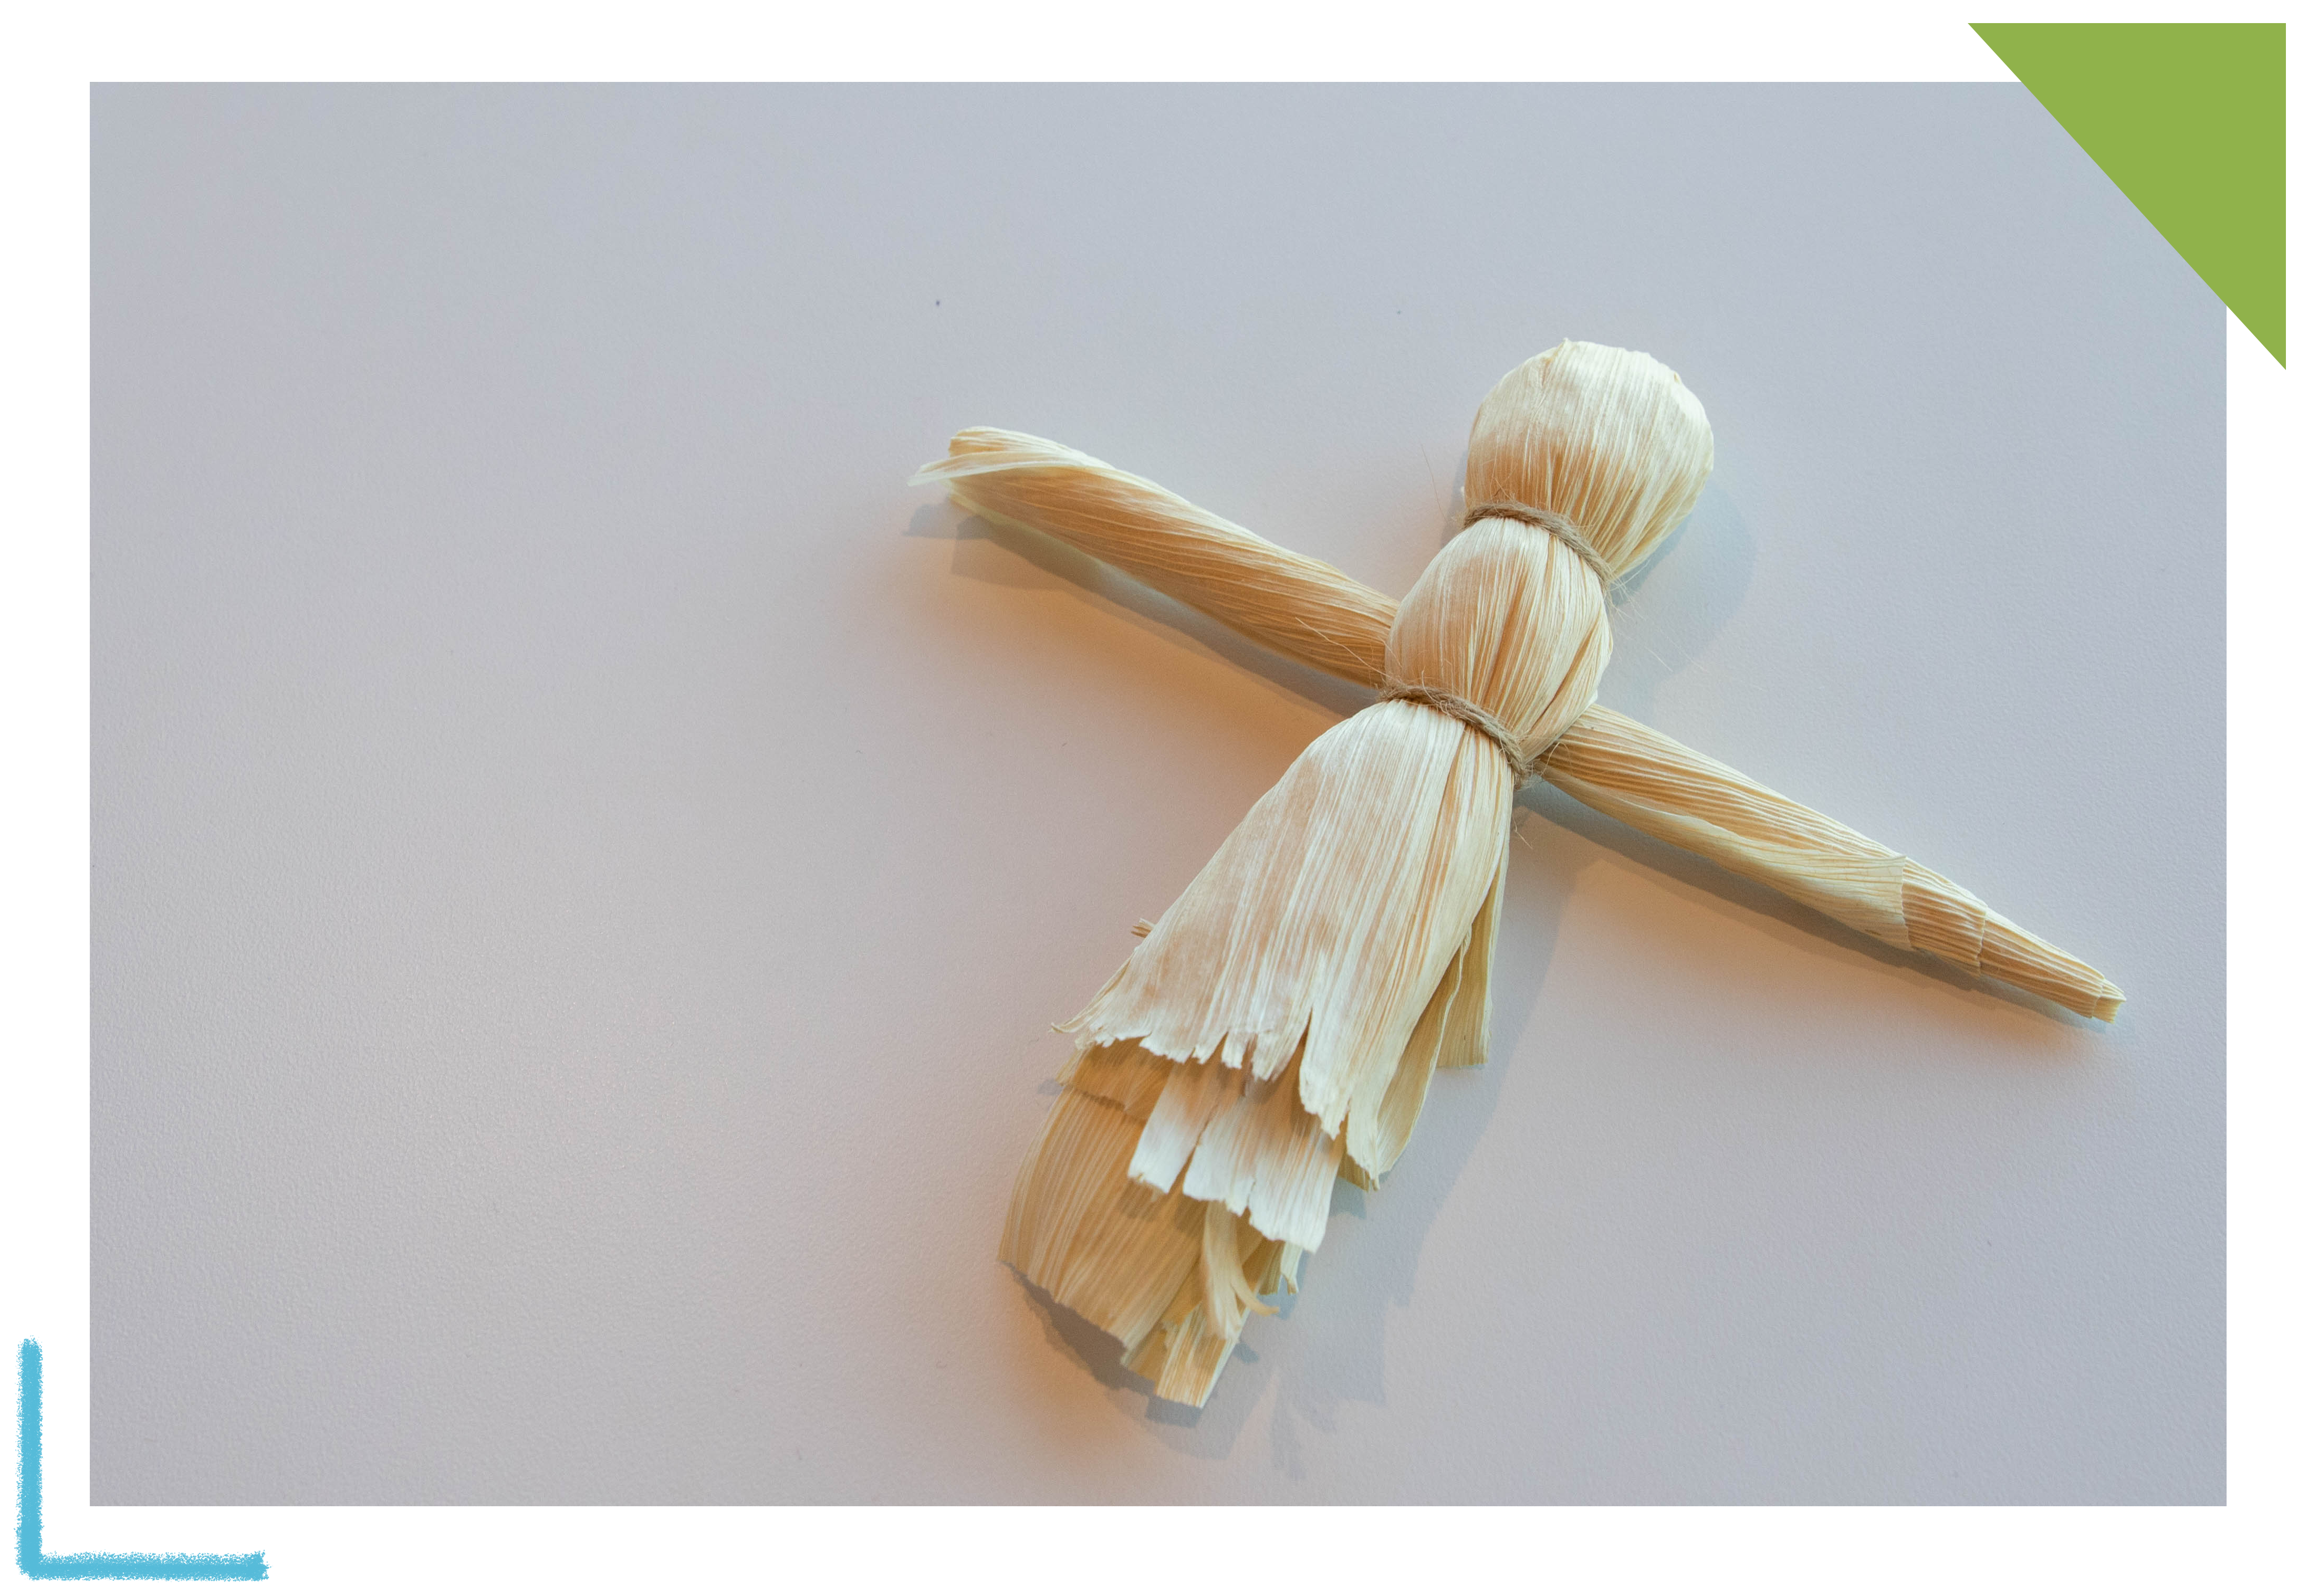
9. Next, trim the husks that make the arms to make them even, and shorter, and then tie a string near each of the ends of the arms to make hands.

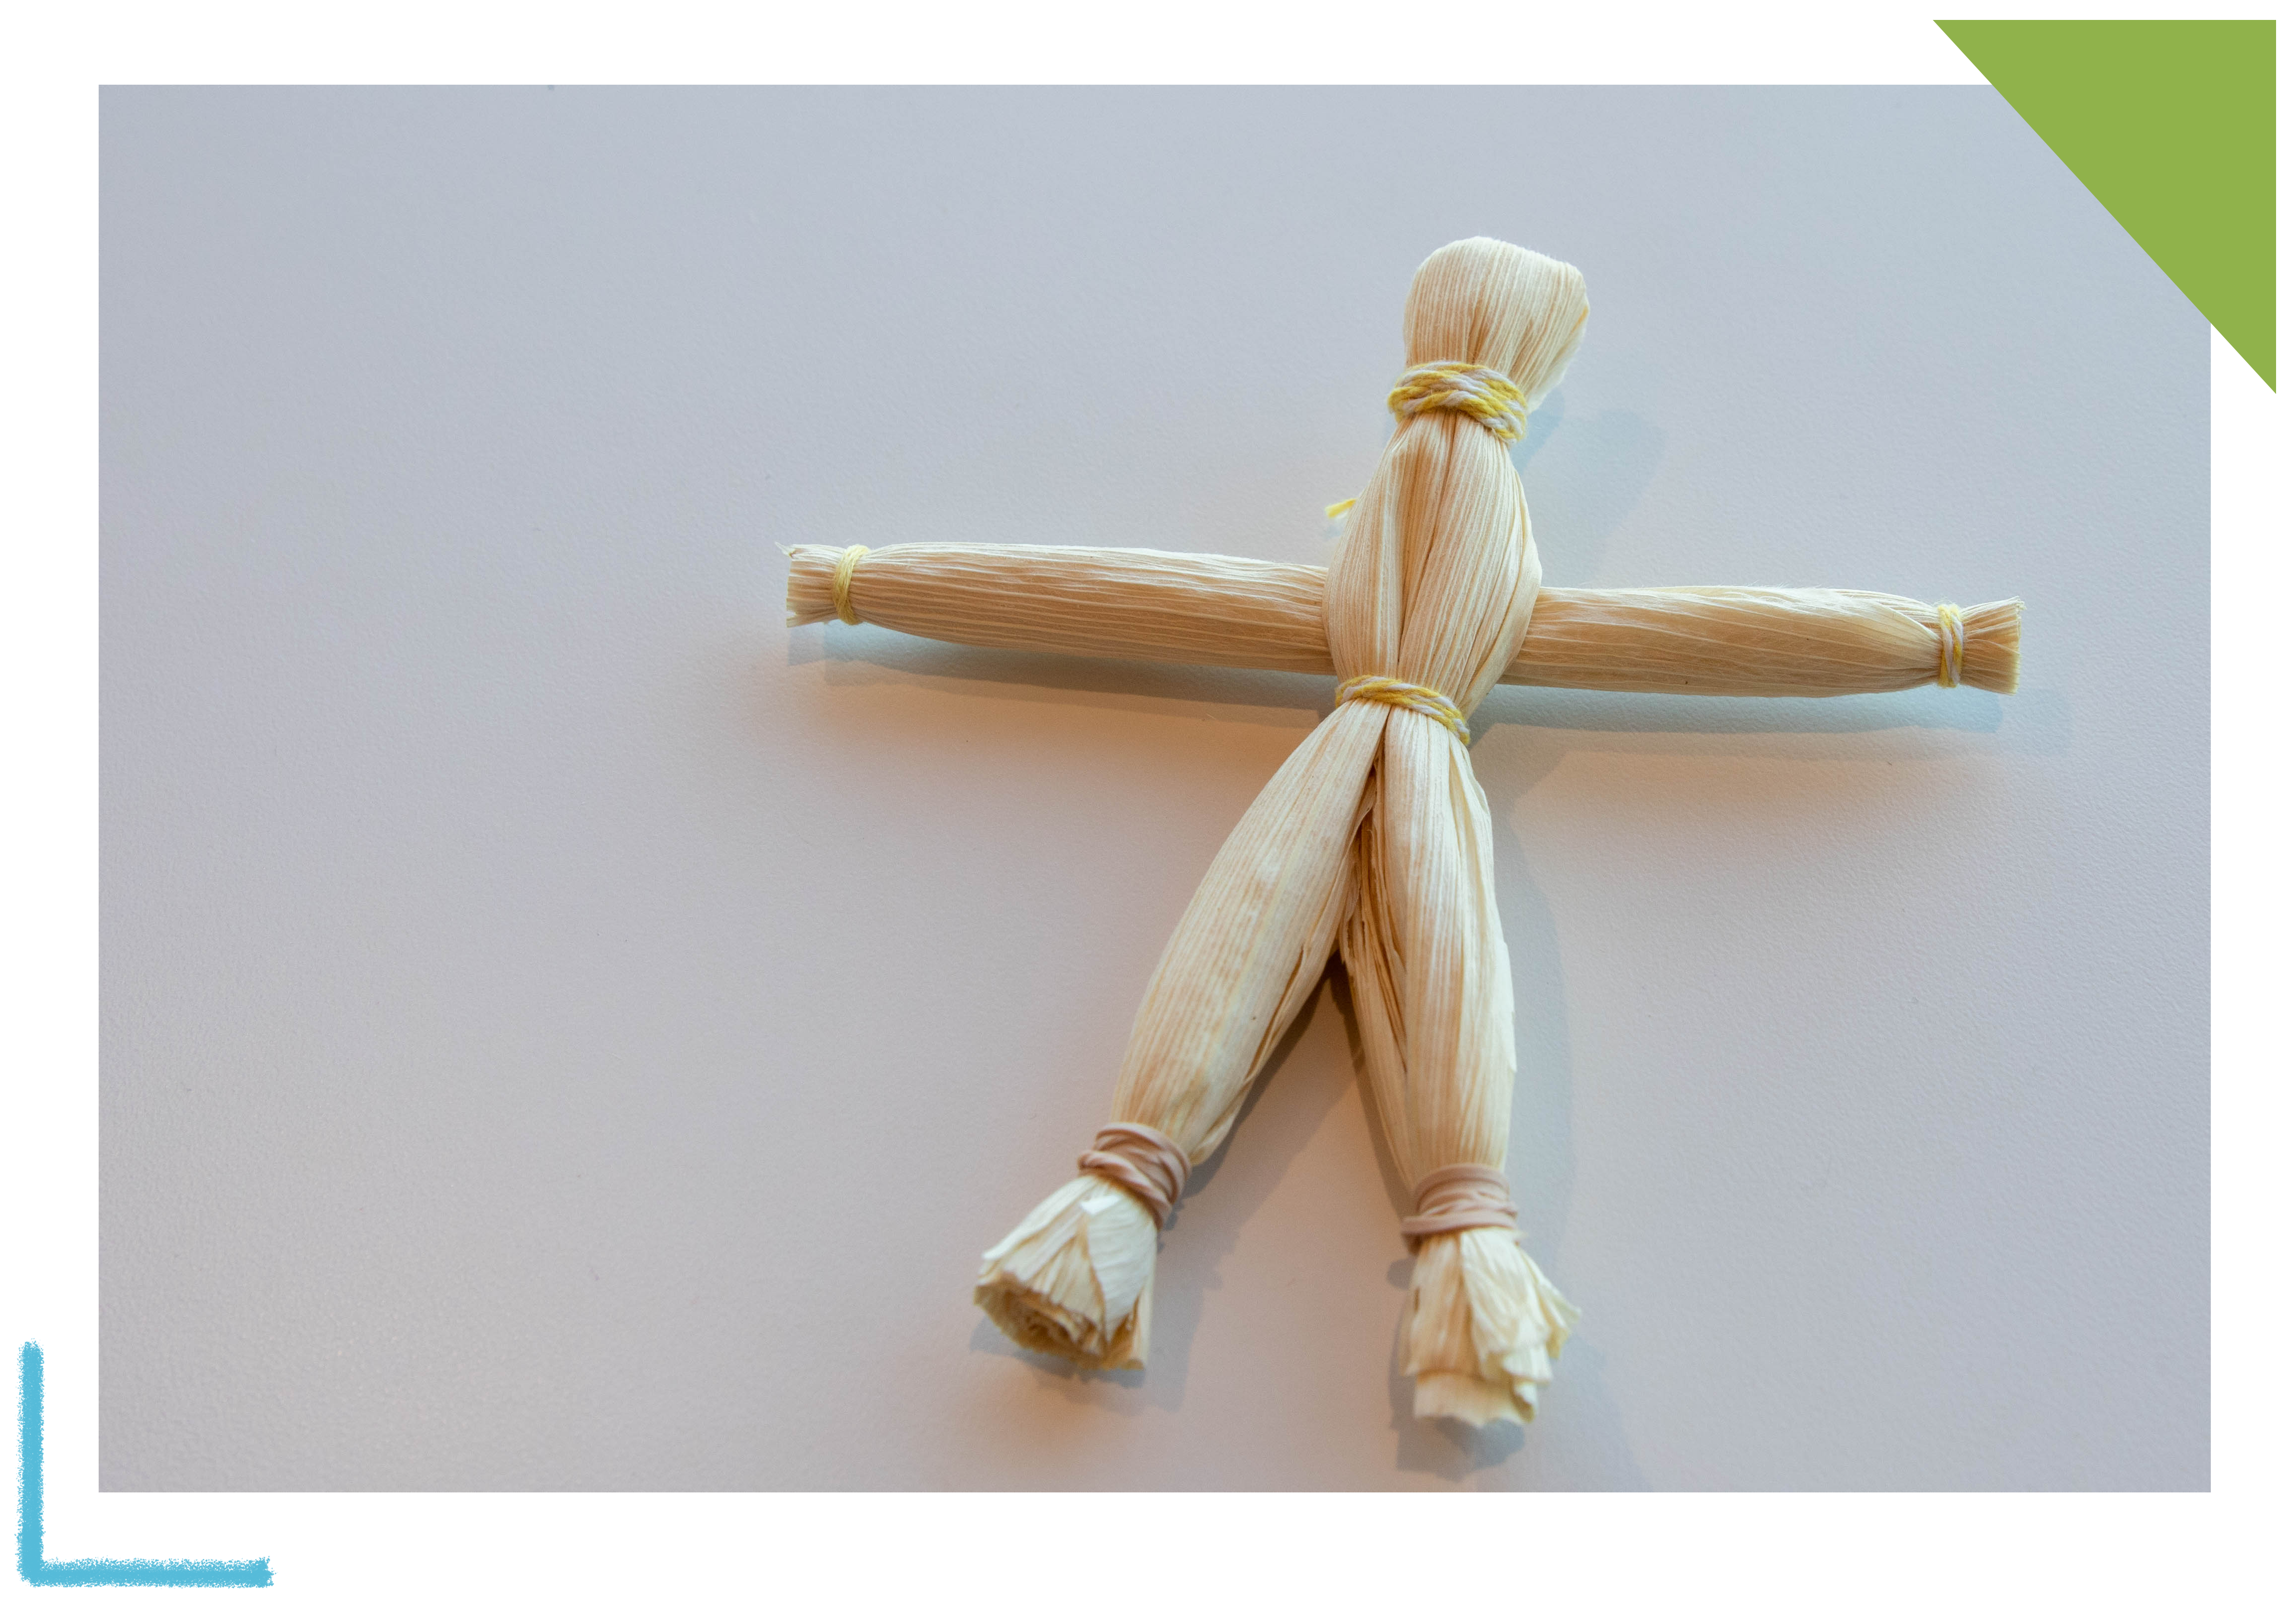
10. If you’d like your doll to wear pants instead of a dress, cut the middle of the ‘skirt’ of the doll so there are now two even pieces, then tie the bottom of each side to make the doll’s legs.

Post your Corn Husk Dolls on instagram and tag us @richlandlibrary!